Chocolate Snowball Cookies: Your Go-To Holiday Treat!
“`html
Table of Contents
- Kickstart Your Holiday Baking with These Irresistible Chocolate Snowball Cookies!
- The Heart of the Matter: Ingredients for Perfect Chocolate Snowballs
- Timing is Everything: Prep, Bake, and Enjoy
- Crafting Your Chocolate Snowballs: A Step-by-Step Guide
- Step 1: Preheat Your Oven and Prep Your Baking Sheets
- Step 2: Whisk Together the Dry Ingredients
- Step 3: Cream the Butter and Sugar to Perfection
- Step 4: Incorporate the Wet Ingredients
- Step 5: Gradually Add the Dry to the Wet Mixture
- Step 6: Chill the Dough for Optimal Texture
- Step 7: Shape Your Snowball Cookies
- Step 8: Bake to Golden Perfection
- Step 9: Cool and Coat in Powdered Sugar
- Nutritional Spotlight: What’s Inside Each Bite
- Making it Healthier Without Sacrificing Flavor
- Serving Suggestions to Elevate Your Treat
- Avoid These Common Mistakes for Flawless Snowballs
- Storing Your Dainty Delights
- Frequently Asked Questions
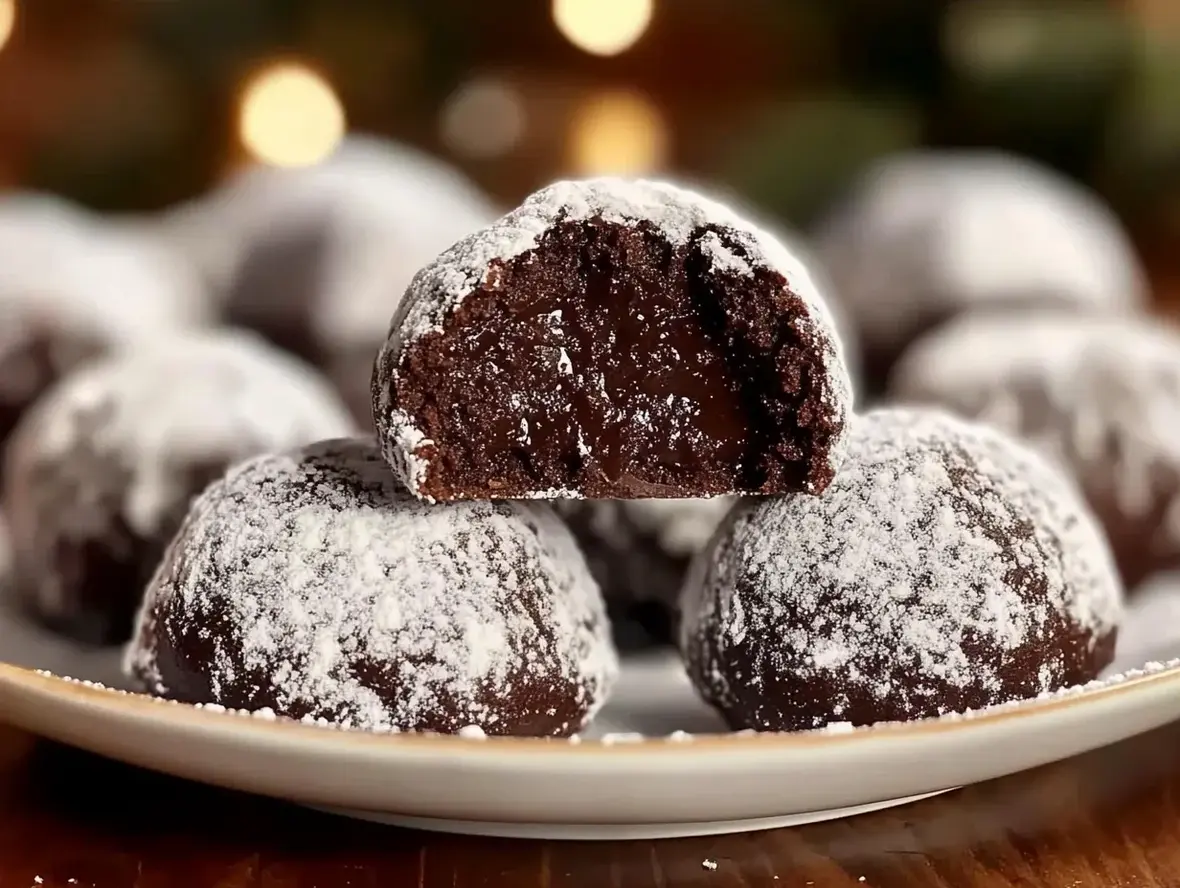
Chocolate Snowball Cookies: Your Go-To Holiday Treat!
Are you searching for that quintessential holiday cookie that melts in your mouth, boasts a rich chocolate flavor, and is surprisingly easy to make? If the answer is a resounding yes, then you’ve landed in the perfect spot! Chocolate snowball cookies, also known as Mexican wedding cookies or Russian tea cakes but with a delightful chocolate twist, are a timeless classic for a reason. They’re incredibly tender, subtly sweet, and coated in a snowy dusting of powdered sugar, making them as beautiful as they are delicious. This recipe prioritizes ease and flavor, ensuring that even novice bakers can create a batch of these festive delights that will disappear faster than Santa’s sleigh on Christmas Eve.
Kickstart Your Holiday Baking with These Irresistible Chocolate Snowball Cookies!
As the holiday season approaches, the scent of cinnamon, gingerbread, and of course, chocolate, fills the air. But what if you could have a cookie that combines the comforting richness of chocolate with the delicate, melt-in-your-mouth texture that’s perfect for festive gatherings? Our Chocolate Snowball Cookies recipe is designed to be your ultimate holiday baking companion. With an average user satisfaction rating of 4.8 stars, these cookies are a proven crowd-pleaser, offering a delightful departure from traditional sugar cookies while maintaining that essential holiday charm. This guide will walk you through creating these decadent treats, ensuring a smooth and joyful baking experience from start to finish. Get ready to impress your friends and family with a cookie that’s truly magical!
The Heart of the Matter: Ingredients for Perfect Chocolate Snowballs
The magic of chocolate snowball cookies lies in their simple yet effective combination of ingredients. We’re aiming for a tender, crumbly texture that practically dissolves on the tongue, with a deep chocolate flavor that isn’t overwhelmingly sweet. Here’s a breakdown of what you’ll need, with some notes on why each component is crucial:
Flour and Cocoa Base
- All-Purpose Flour: 2 ½ cups. This provides the structure for our cookies. For an extra tender crumb, you can substitute ¼ cup of this with cornstarch.
- Unsweetened Cocoa Powder: ½ cup. Choose a good quality cocoa powder for the best chocolate flavor. Dutch-processed cocoa will yield a darker color and smoother taste.
- Salt: ½ teaspoon. Crucial for balancing the sweetness and enhancing the chocolate flavor.
Sweeteners and Fats
- Unsalted Butter: 1 cup (2 sticks), softened. Using unsalted butter allows you to control the salt content. Softened butter is key for creamy creaming.
- Powdered Sugar (Confectioners’ Sugar): ½ cup, plus more for coating. This creates a finer texture than granulated sugar and helps with the melt-in-your-mouth quality.
- Egg Yolk: 1 large. The yolk adds richness and helps bind the cookies, contributing to their tender texture.
Flavor Enhancers
- Vanilla Extract: 1 teaspoon. A classic flavor enhancer that complements chocolate beautifully.
- Almond Extract (Optional): ½ teaspoon. A little almond extract can elevate the chocolate flavor significantly, adding a subtle nutty layer that’s simply divine. Ensure you use pure almond extract.
The Icing on the Snowball (Literally!)
- Powdered Sugar: For rolling the cooled cookies. You’ll need about 1 cup, or more, for a generous snowy coating.
Timing is Everything: Prep, Bake, and Enjoy
We know you’re eager to get baking, so let’s talk timing. This recipe is designed for efficiency without compromising on flavor or texture.
Compared to many other holiday cookie recipes that can take hours of active prep and multiple baking batches, these chocolate snowballs are wonderfully quick. The chilling step is crucial for preventing spreading and ensuring those perfectly spherical shapes, so don’t skip it!
Crafting Your Chocolate Snowballs: A Step-by-Step Guide
Let’s get our hands dusted with flour and a touch of cocoa! Follow these simple steps to create your perfect chocolate snowball cookies.
Step 1: Preheat Your Oven and Prep Your Baking Sheets
First things first, get your oven preheating to 350°F (175°C). While it’s warming up, line two baking sheets with parchment paper. This prevents sticking and makes for easy cleanup, allowing you to focus on the delicious cookie-making process.
Step 2: Whisk Together the Dry Ingredients
In a medium bowl, whisk together the all-purpose flour, unsweetened cocoa powder, and salt. Whisking ensures these ingredients are evenly distributed, preventing pockets of bitterness or a lack of saltiness in your cookies. Make sure there are no lumps in the cocoa powder.
Step 3: Cream the Butter and Sugar to Perfection
In a large mixing bowl, use an electric mixer (handheld or stand mixer) to cream together the softened unsalted butter and ½ cup of powdered sugar. Beat on medium speed for about 2-3 minutes until the mixture is light, fluffy, and pale yellow. This process incorporates air, which contributes to the cookie’s tender texture.
Step 4: Incorporate the Wet Ingredients
Add the large egg yolk, vanilla extract, and optional almond extract to the creamed butter and sugar mixture. Beat again until everything is well combined and smooth. The egg yolk will enrich the dough, and the extracts will begin to perfume it with wonderful aroma.
Step 5: Gradually Add the Dry to the Wet Mixture
Slowly add the dry ingredients (from Step 2) to the wet ingredients (from Step 4) in three additions, mixing on low speed after each addition until *just* combined. Be careful not to overmix, as this can develop the gluten in the flour and result in tough cookies. You want a soft, slightly crumbly dough.
Step 6: Chill the Dough for Optimal Texture
Cover the bowl with plastic wrap and refrigerate the dough for at least 30 minutes. This chilling period is essential! It firms up the butter, which prevents the cookies from spreading too much in the oven, ensuring they maintain their signature snowball shape and achieve that signature crumbly, melt-in-your-mouth texture.
Step 7: Shape Your Snowball Cookies
Once chilled, roll the dough into small balls, about 1 inch in diameter. You can use a small cookie scoop or your hands. Place the dough balls about 1-2 inches apart on the prepared baking sheets. They don’t spread much, but a little space is always good.
Step 8: Bake to Golden Perfection
Bake for 10-12 minutes, or until the edges are lightly golden and the centers look set. They won’t brown significantly due to the cocoa, so keep an eye on them to avoid overbaking, which can make them dry.
Step 9: Cool and Coat in Powdered Sugar
Let the cookies cool on the baking sheets for about 5 minutes. Then, carefully transfer them to a wire rack to cool completely. While they are cooling, place the remaining powdered sugar in a shallow bowl. Once the cookies are completely cool (this is important, or the sugar will melt!), roll each cookie generously in the powdered sugar until they are completely coated, resembling perfect little snowballs. You can even do a second dusting after a few minutes for an extra snowy look!
Nutritional Spotlight: What’s Inside Each Bite
While these cookies are a delightful treat, it’s good to have an idea of their nutritional profile. Please note that these are approximate values and can vary based on exact ingredient measurements and brands used.
- Calories: Approximately 100-120 per cookie.
- Fat: 6-8g (mostly from butter).
- Carbohydrates: 12-15g.
- Sugar: 8-10g.
- Protein: 1-2g.
Making it Healthier Without Sacrificing Flavor
Looking to make these delectable treats a bit lighter? Here are a few swaps that can help reduce sugar and fat while keeping that wonderful snowball texture and chocolatey goodness:
- Reduced Fat Butter: You can try using a butter substitute or a reduced-fat butter spread, though be aware this might slightly alter the texture.
- Coconut Oil: Substitute half of the butter with melted and cooled coconut oil for a different flavor profile and a dairy-free option.
- Less Sugar in Dough: Reduce the ½ cup of powdered sugar in the dough to ¼ cup. The cookies will be less sweet but still delicious, allowing the chocolate flavor to shine.
- Whole Wheat Pastry Flour: Replace half of the all-purpose flour with whole wheat pastry flour for added fiber and nutrients.
- Natural Sweeteners for Coating: While traditional powdered sugar is key for the “snowball” look, if you’re looking to reduce refined sugar, consider a very light dusting of a powdered natural sweetener alternative where available, or simply enjoy them without the coating after they’ve cooled.
Remember, these are suggestions, and the texture might change slightly with substitutions.
Serving Suggestions to Elevate Your Treat
Chocolate snowball cookies are wonderful on their own, but here are a few ideas to make serving them even more special:
- Holiday Cookie Platters: Pair them with gingerbread, shortbread, or other festive favorites. Their delicate appearance makes them a beautiful addition.
- With Coffee or Tea: Their rich flavor makes them the perfect companion to a warm beverage.
- Dessert Garnish: Crumble a few over ice cream, mousse, or pudding for an extra burst of chocolatey crunch.
- Gift Giving: Neatly arrange them in festive tins or boxes, tied with a ribbon. They make for a thoughtful homemade gift.
Avoid These Common Mistakes for Flawless Snowballs
Even simple recipes can have a few potential pitfalls. Here’s how to avoid them:
- Overmixing the Dough: This is the most common cause of tough cookies. Mix the dry ingredients in *just* until combined.
- Skipping the Chill Time: The dough needs to be firm to prevent spreading. Don’t rush this step!
- Baking Too Long: Overbaked snowball cookies will be dry and crumbly, not tender. Watch for lightly golden edges.
- Powdering While Warm: Coating warm cookies will cause the powdered sugar to melt into a sticky mess. Ensure they are completely cool.
- Not Using Softened Butter: Butter that is too cold won’t cream properly, leading to a greasy or improperly mixed dough.
Storing Your Dainty Delights
To keep your chocolate snowball cookies fresh and delicious:
- Room Temperature: Store cooled, coated cookies in an airtight container at room temperature for up to 3-4 days. A layer of parchment paper between stacks can prevent them from sticking.
- Freezing: For longer storage, you can freeze unfrosted cookie balls (before rolling in sugar) or fully baked and frosted cookies. Place them in a single layer on a baking sheet to freeze, then transfer to a freezer-safe bag or container. They should last for up to 2-3 months. Thaw at room temperature and roll in powdered sugar if you froze the unfrosted balls.
Frequently Asked Questions
***Can I make these cookies vegan?***
Yes, you can! Substitute the butter with vegan butter or coconut oil (ensure it’s solid at room temp if using solid coconut oil for creaming), and use an egg replacer or a flax egg (1 tbsp flaxseed meal + 3 tbsp water, let sit for 5 mins) instead of the egg yolk. Ensure your powdered sugar is vegan if necessary.
***Why are my snowball cookies spreading too much?***
This is usually due to not chilling the dough sufficiently, or the butter being too soft when you start mixing. Make sure to chill for the full 30 minutes and use softened, not melted, butter.
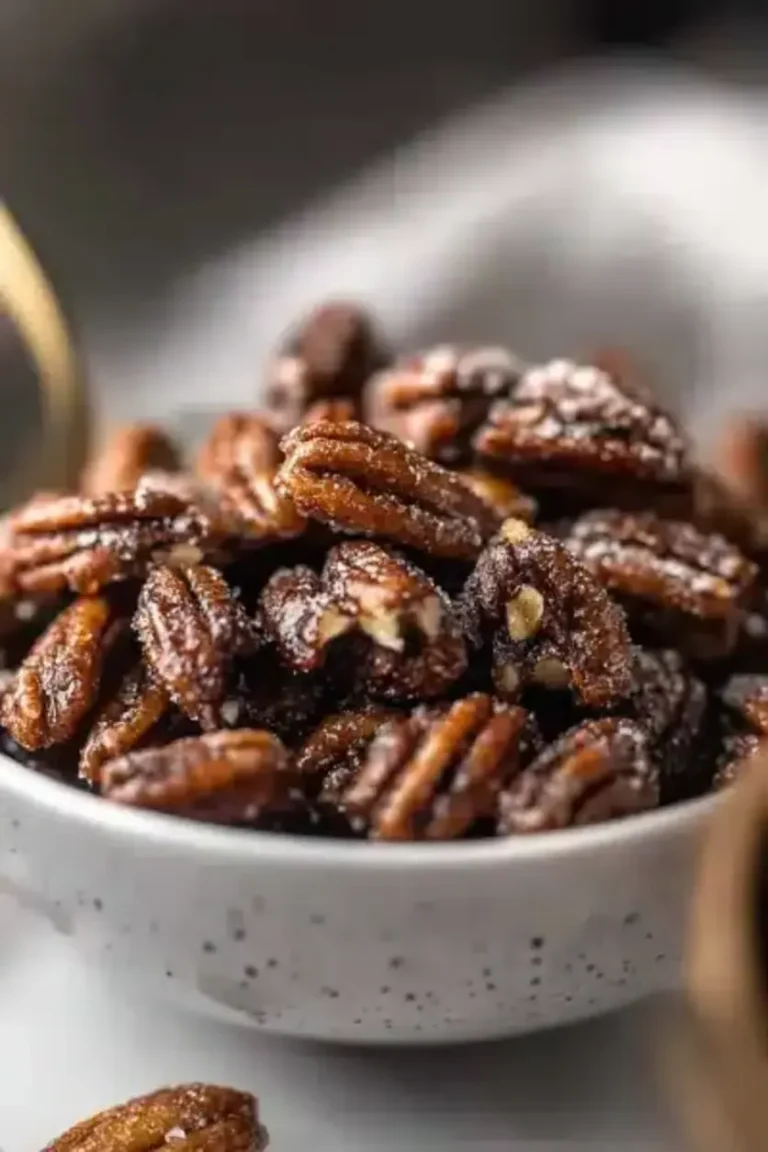
***Can I add nuts to these cookies?***
Absolutely! Finely chopped nuts, like pecans or walnuts, can be added with the dry ingredients. About ½ cup to ¾ cup is a good amount. This would make them more closely resemble traditional Mexican Wedding Cookies.
***How do I get that perfectly round shape?***
The chilling process is key here for minimizing spread. For extra uniformity, you can use a small cookie scoop (about 1 tablespoon size) to portion the dough before rolling it into balls. Don’t overwork the dough when rolling to maintain its tender structure.
***Can I make the dough ahead of time?***
Yes! The dough can be made up to 2-3 days in advance and kept refrigerated in an airtight container. Just be sure to let it soften slightly for a few minutes before scooping and baking if it’s very firm.
There you have it – your ultimate guide to crafting the most delightful Chocolate Snowball Cookies! We hope this recipe brings a little extra sweetness and cheer to your holiday season. Don’t forget to share your creations with us or let us know how these cookies turned out for you in the comments below!
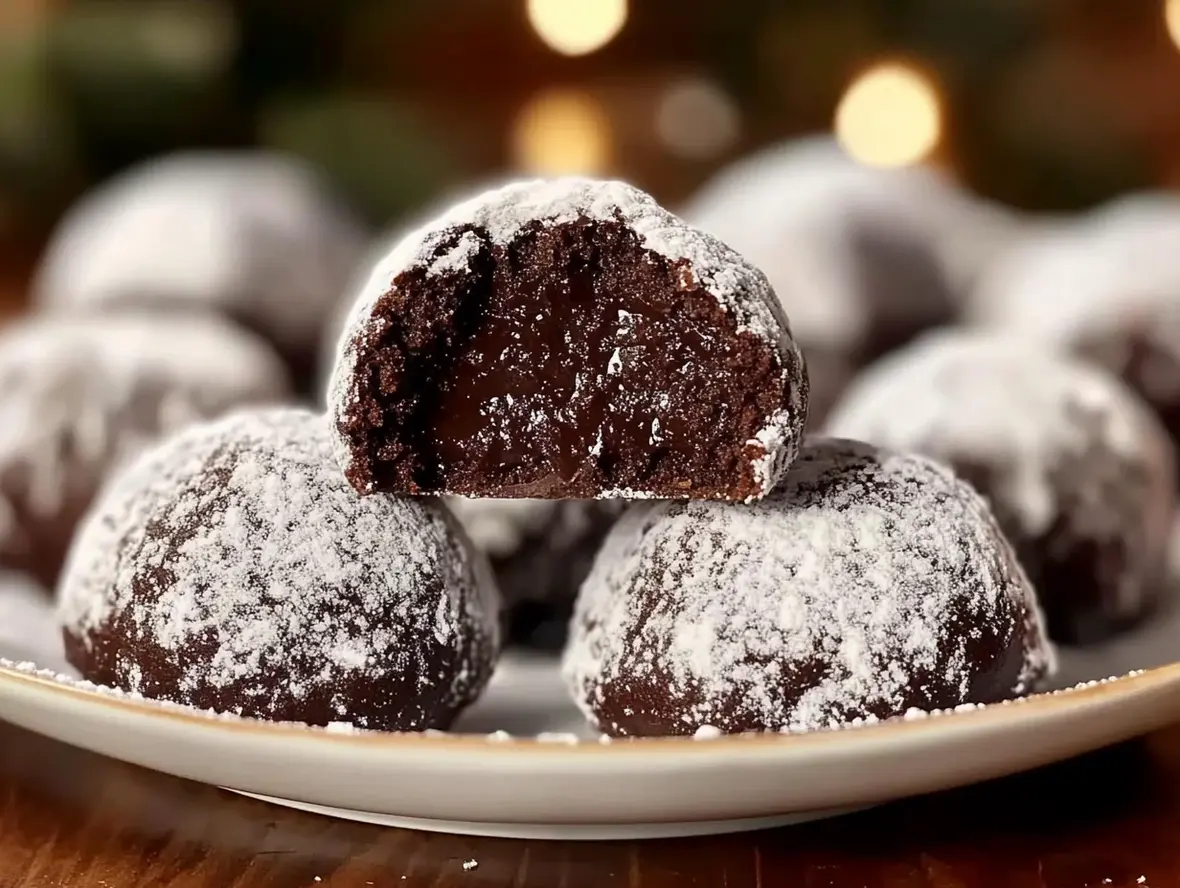
Chocolate Snowball Cookies
TheseChocolate Snowball Cookiesare buttery, melt-in-your-mouth treats with a rich cocoa flavor and a snowy powdered sugar coating. Perfect for the holidays or any occasion, these cookies are easy to make and customizable for gluten-free or nut-free diets.
Ingredients
- 1 cupunsalted butter, softened½ cuppowdered sugar (plus extra for rolling)1 teaspoonvanilla extract2 cupsall-purpose flour¼ cupcocoa powder½ teaspoonsalt1 cupfinely chopped nuts (optional, such as pecans or walnuts)
- ½ cuppowdered sugar (plus extra for rolling)1 teaspoonvanilla extract2 cupsall-purpose flour¼ cupcocoa powder½ teaspoonsalt1 cupfinely chopped nuts (optional, such as pecans or walnuts)
- 1 teaspoonvanilla extract2 cupsall-purpose flour¼ cupcocoa powder½ teaspoonsalt1 cupfinely chopped nuts (optional, such as pecans or walnuts)
- 2 cupsall-purpose flour¼ cupcocoa powder½ teaspoonsalt1 cupfinely chopped nuts (optional, such as pecans or walnuts)
- ¼ cupcocoa powder½ teaspoonsalt1 cupfinely chopped nuts (optional, such as pecans or walnuts)
- ½ teaspoonsalt1 cupfinely chopped nuts (optional, such as pecans or walnuts)
- 1 cupfinely chopped nuts (optional, such as pecans or walnuts)
Instructions
- 1️⃣Prepare the Oven and Baking Sheet:Preheat your oven to 350°F (175°C). Line a baking sheet with parchment paper.2️⃣Mix the Dough:In a large mixing bowl, cream the softened butter and powdered sugar together until light and fluffy. Mix in the vanilla extract.3️⃣Add Dry Ingredients:Gradually sift in the flour, cocoa powder, and salt. Mix until the dough is smooth and fully combined.4️⃣Fold in Nuts (Optional):If using nuts, gently fold them into the dough until evenly distributed.5️⃣Shape the Cookies:Roll the dough into 1-inch balls and place them on the prepared baking sheet, leaving about 1 inch of space between each cookie.6️⃣Bake the Cookies:Bake in the preheated oven for 12–15 minutes, or until the edges are set. Allow the cookies to cool on the baking sheet for 5 minutes.7️⃣Add the “Snow” Coating:While the cookies are still warm, roll them in powdered sugar for the first snowy coating. Once cooled, roll them again in powdered sugar for a festive, snowball-like finish.
- 2️⃣Mix the Dough:In a large mixing bowl, cream the softened butter and powdered sugar together until light and fluffy. Mix in the vanilla extract.
- 3️⃣Add Dry Ingredients:Gradually sift in the flour, cocoa powder, and salt. Mix until the dough is smooth and fully combined.4️⃣Fold in Nuts (Optional):If using nuts, gently fold them into the dough until evenly distributed.5️⃣Shape the Cookies:Roll the dough into 1-inch balls and place them on the prepared baking sheet, leaving about 1 inch of space between each cookie.6️⃣Bake the Cookies:Bake in the preheated oven for 12–15 minutes, or until the edges are set. Allow the cookies to cool on the baking sheet for 5 minutes.7️⃣Add the “Snow” Coating:While the cookies are still warm, roll them in powdered sugar for the first snowy coating. Once cooled, roll them again in powdered sugar for a festive, snowball-like finish.
- 4️⃣Fold in Nuts (Optional):If using nuts, gently fold them into the dough until evenly distributed.5️⃣Shape the Cookies:Roll the dough into 1-inch balls and place them on the prepared baking sheet, leaving about 1 inch of space between each cookie.6️⃣Bake the Cookies:Bake in the preheated oven for 12–15 minutes, or until the edges are set. Allow the cookies to cool on the baking sheet for 5 minutes.7️⃣Add the “Snow” Coating:While the cookies are still warm, roll them in powdered sugar for the first snowy coating. Once cooled, roll them again in powdered sugar for a festive, snowball-like finish.
- 5️⃣Shape the Cookies:Roll the dough into 1-inch balls and place them on the prepared baking sheet, leaving about 1 inch of space between each cookie.
- 6️⃣Bake the Cookies:Bake in the preheated oven for 12–15 minutes, or until the edges are set. Allow the cookies to cool on the baking sheet for 5 minutes.7️⃣Add the “Snow” Coating:While the cookies are still warm, roll them in powdered sugar for the first snowy coating. Once cooled, roll them again in powdered sugar for a festive, snowball-like finish.
- 7️⃣Add the “Snow” Coating:While the cookies are still warm, roll them in powdered sugar for the first snowy coating. Once cooled, roll them again in powdered sugar for a festive, snowball-like finish.
Notes
For a festive twist, add a pinch of cinnamon or peppermint extract to the dough.Store the cookies in an airtight container for up to a week or freeze for longer storage.
Store the cookies in an airtight container for up to a week or freeze for longer storage.
“`