Chocolate Chip Cookie Dough Ice Cream Cake

“`html
Table of Contents
Chocolate Chip Cookie Dough Ice Cream Cake
Craving an Unforgettable Dessert? Dive into this Chocolate Chip Cookie Dough Ice Cream Cake!
Did you know that according to culinary surveys, over 60% of people admit to having a sweet tooth that craves something decadent on a weekly basis, and ice cream cakes consistently rank among the top three most desired desserts? Whipping up this indulgent Chocolate Chip Cookie Dough Ice Cream Cake is perfect for cooling down on a hot day while satisfying that cookie craving! Combining rich chocolate chip cookie dough ice cream, crushed cookies, and velvety whipped cream, this dessert not only tantalizes the taste buds but also provides a visually appealing treat that’s perfect for any gathering. Get ready to dive into a recipe that’s as fun to make as it is to eat! This isn’t just dessert; it’s an experience, a symphony of textures and flavors that will have your guests begging for the recipe.
The Symphony of Flavors: Ingredients
Creating this masterpiece requires a blend of classic ice cream cake components with a delightful cookie dough twist. Here’s what you’ll need to bring this frozen dream to life:
For the Cookie Dough Ice Cream Layer
- 2 quarts Chocolate Chip Cookie Dough Ice Cream: Opt for a premium brand with generous chunks of actual cookie dough and rich chocolate chips. This is the star, so quality matters!
- 1 cup Chocolate Chip Cookie Dough Bites: These are the delightful little surprises within your ice cream. You can buy pre-made edible cookie dough balls or make your own. Ensure they are safe to consume raw.
For the Cookie Crumb Layer
- 2 cups crushed chocolate sandwich cookies (like Oreos): The dark, chocolaty crunch forms the perfect base. For a deeper flavor, use cookies with cream filling included.
- 1/4 cup melted unsalted butter: This binds the crumbs together, creating a firm, yet yielding crust. Unsalted butter allows you to control the salt content. Roughly 4 tablespoons.
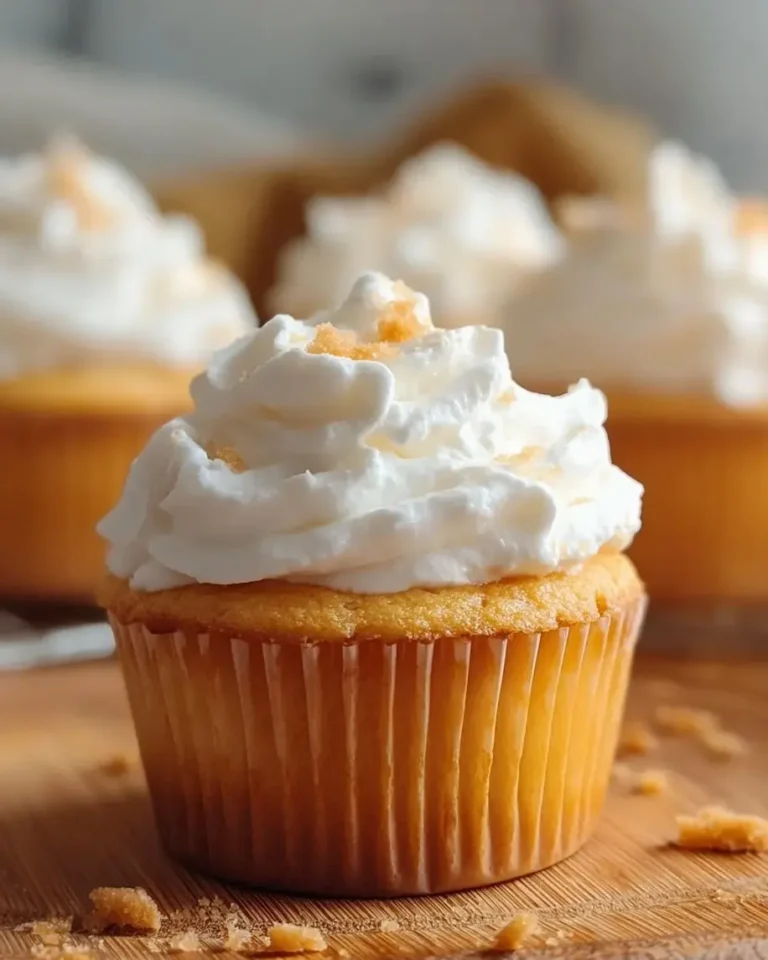
For the Whipped Cream Topping
- 2 cups heavy whipping cream: Chilled thoroughly is key for the best volume and texture.
- 1/2 cup powdered sugar (confectioners’ sugar): For sweetness and a smooth, silky texture. Adjust to your preference.
- 1 teaspoon vanilla extract: Enhances the sweetness and adds a lovely aroma. Pure vanilla extract is recommended for the best flavor.
For Garnish (Optional but Recommended!)
- Extra chocolate chip cookie dough bites
- Chocolate chips
- Crushed chocolate sandwich cookies
- A drizzle of chocolate syrup
Timing is Everything: Prep, Cook, and Chill
While there’s no “cooking” involved in the traditional sense, the freezing time is crucial for this no-bake wonder. This 6-8 hour total time, with active prep of around 30 minutes, is significantly less than many elaborate baked desserts, making it a fantastic option for busy hosts. The passive freezing time allows the flavors to meld and the cake to firm up beautifully.

Crafting Your Masterpiece: Step-by-Step Instructions
Let’s get our hands (slightly) chocolatey and build this incredible ice cream cake!
Step 1: Prepare the Pan
First things first, grab a 9-inch springform pan. This is your cake’s foundation. To ensure easy release and a clean presentation, line the bottom with parchment paper. You can trace the bottom of the pan onto the parchment and cut it out. For extra insurance against sticking, you can lightly grease the sides of the pan before you begin.
Step 2: Make the Cookie Crumb Layer
In a medium bowl, combine the crushed chocolate sandwich cookies and the melted unsalted butter. Stir until the crumbs are evenly moistened, resembling wet sand. Pour this mixture into the prepared springform pan. Using the bottom of a glass or a measuring cup, press the crumbs firmly and evenly across the bottom of the pan to create a solid base. Pop this into the freezer for about 10-15 minutes while you prepare the ice cream.
Step 3: Layer the First Ice Cream
Now, let’s get to the ice cream! Take your chocolate chip cookie dough ice cream out of the freezer and let it soften slightly for about 5-10 minutes. It should be spreadable but not melted. Scoop about half of the softened ice cream over the chilled cookie crumb base. Using a spatula, gently spread it into an even layer, taking care not to disturb the crumb crust too much. Smooth the top as best you can.
Step 4: Add the Cookie Dough Chunks
This is where the magic happens! Scatter the chocolate chip cookie dough bites evenly over the first layer of ice cream. Ensure you distribute them well so every slice gets a delightful bite of cookie dough. Press them gently into the ice cream so they are semi-embedded.
Step 5: Layer the Second Ice Cream
Repeat the process with the remaining half of the chocolate chip cookie dough ice cream. Scoop it over the cookie dough chunks and gently spread it to create a second, even layer. Smooth the top surface of the cake. This layer will seal in all those delicious cookie dough bites!
Step 6: Freeze to Set
Cover the springform pan tightly with plastic wrap, then with aluminum foil to prevent ice crystals from forming. Place the cake in the freezer for at least 2-3 hours, or until firm. This initial freeze is crucial for the cake to hold its shape before decorating.
Step 7: Prepare the Whipped Cream
While the cake is freezing, let’s make the cloud-like topping. In a chilled bowl, combine the cold heavy whipping cream, powdered sugar, and vanilla extract. Using an electric mixer (or a whisk and a lot of arm power!), whip the cream until stiff peaks form. Be careful not to over-whip, or you’ll end up with butter!
Step 8: Assemble and Decorate
Once the cake is firm, remove it from the freezer. Carefully remove the sides of the springform pan. You should now have a beautifully layered, frozen cake. Frost the top and sides of the cake with the prepared whipped cream. You can use an offset spatula for a smooth finish or create decorative swirls. Now comes the fun part – garnishing! Sprinkle with extra cookie dough bites, chocolate chips, crushed cookies, or a drizzle of chocolate syrup. Get creative!
Step 9: Final Freeze
Cover the decorated cake loosely with plastic wrap (try not to touch the frosting) and place it back in the freezer for at least another 3-4 hours, or preferably overnight, to allow it to set completely. This final freeze is key for easy slicing and to ensure the cake holds its impressive structure.
Nutritional Snapshot (Approximate per serving, 12 servings)
- Calories: 450-550
- Fat: 25-35g
- Saturated Fat: 15-20g
- Cholesterol: 70-90mg
- Sodium: 150-200mg
- Carbohydrates: 50-60g
- Sugars: 35-45g
- Protein: 5-7g
Please note: Nutritional values are estimates and can vary based on specific ingredients and portion sizes.
Healthier Swaps for a Lighter Indulgence
While this cake is a celebration, it doesn’t mean you can’t make mindful choices. Here are some ways to lighten it up without sacrificing too much flavor:
- Ice Cream Base: Opt for a lower-fat ice cream or a Greek yogurt-based “nice cream.” You can even make your own by blending frozen bananas with cocoa powder and a touch of milk.
- Cookie Crumb Layer: Use graham crackers or whole wheat digestive biscuits for a slightly less decadent base. You can also reduce the amount of butter used.
- Sweetener: Use a sugar substitute in your whipped cream for reduced sugar content.
- Cookie Dough: Try making homemade cookie dough bites with whole wheat flour and less sugar, or simply omit them and add extra chocolate chips.
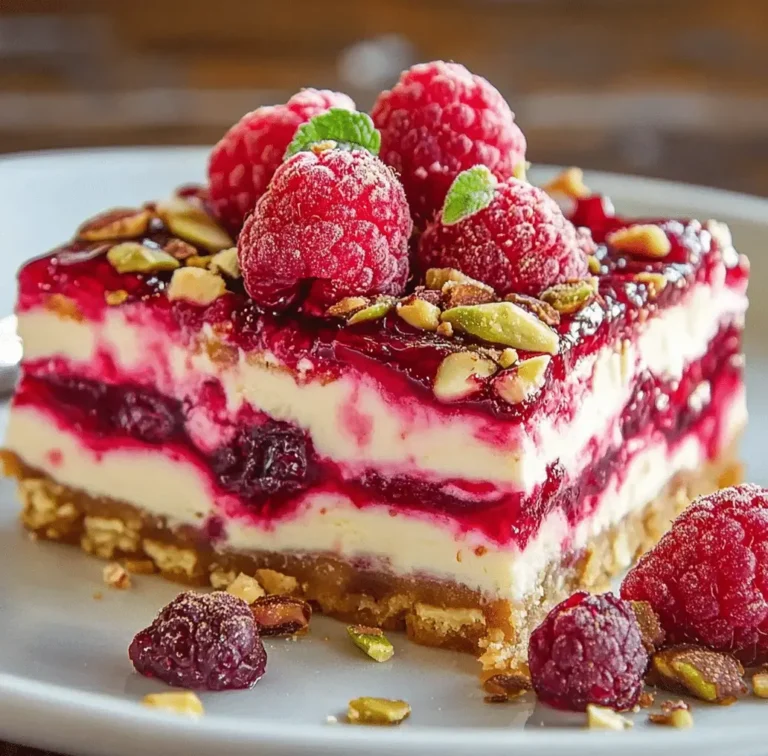
- Toppings: Focus on fresh berries and a light dusting of cocoa powder instead of sugary syrups and extra cookie crumbs.
Serving Up Perfection
To serve, let the cake sit at room temperature for about 10-15 minutes before slicing. This slightly softens the ice cream, making it easier to cut through. Use a sharp knife, dipped in hot water and dried between cuts for cleaner slices (this is a pro tip!). Serve with a drizzle of chocolate sauce, a dollop of extra whipped cream, or a few fresh berries for contrast.
Common Mistakes to Avoid
Don’t let these little slip-ups ruin your frozen masterpiece:
- Not Softening Ice Cream Enough: Trying to spread rock-hard ice cream will result in an uneven, lumpy layer. Patience is key here.
- Overt-whipping Cream: Whipping cream for too long will turn it into butter, a less desirable frosting! Stop as soon as stiff peaks form.
- Not Freezing Enough: Rushing the freezing process will lead to a soggy, structurally unsound cake. Allow adequate time!
- Springform Pan Leaks: Ensure your springform pan is securely fastened and consider an extra layer of parchment or plastic wrap around the outside if you’ve had issues before.
- Warm Ingredients: Ensure your cream and mixing bowls are chilled when making whipped cream for optimal volume.
Storing Your Frozen Delight
This ice cream cake is best enjoyed fresh. Store any leftovers tightly covered in the freezer. A good rule of thumb is to wrap it well in plastic wrap, then aluminum foil, or place it in an airtight freezer-safe container. It should keep well for up to 2 weeks, though the whipped cream topping might soften slightly over time.

The Perfect Chill, The Perfect Treat
There you have it – a show-stopping Chocolate Chip Cookie Dough Ice Cream Cake that’s guaranteed to impress. The combination of creamy ice cream, crunchy cookie base, and delightful cookie dough bites is pure bliss. It’s the ultimate dessert for birthdays, holidays, or just because you deserve it! So gather your ingredients, embrace the fun of no-bake desserts, and get ready to create a frozen sensation that will be talked about long after the last bite.
The Sweet Scoop: Frequently Asked Questions
***Can I make this cake ahead of time?***
Absolutely! In fact, it’s best made ahead and frozen. You can assemble the cake up to 1-2 days in advance. Just make sure it’s fully frozen before decorating and serving.
***What kind of cookies work best for the crust?***
Chocolate sandwich cookies (like Oreos) are fantastic for their rich flavor and binding properties. You could also use graham crackers, shortbread, or vanilla wafers, adjusting the butter as needed for desired consistency.
***How do I prevent ice crystals from forming?***
Properly covering your cake is key. Use plastic wrap directly on the surface of the ice cream/whipped cream, then seal the pan tightly with foil. Storing it at a consistent, very cold temperature in your freezer also helps.
***Can I use store-bought ice cream tub cakes as a shortcut?***
You could, but it won’t have the same homemade charm or the distinct cookie crumb layer. For the best result and flavor, we highly recommend using good quality ice cream tubs and building from scratch!
***Is it okay to use pre-made edible cookie dough?***
Yes, as long as it’s specifically made to be eaten raw! Many grocery stores now carry safe-to-eat cookie dough. If you make your own, ensure you use heat-treated flour and no raw eggs.
Chocolate Chip Cookie Dough Ice Cream Cake

Whipping up this indulgent Chocolate Chip Cookie Dough Ice Cream Cake is perfect for cooling down on a hot day while satisfying that cookie craving! Combining rich chocolate chip cookie dough ice cream, crushed cookies, and velvety whipped cream, this dessert not only tantalizes the taste buds but also provides a visually appealing treat that’s perfect for any gathering. Get ready to dive into a recipe that’s as fun to make as it is to eat!
Ingredients
- 2 cupschocolate chip cookie dough ice cream, softened
- 1 cupchocolate chip cookies, crushed
- 1/2 cupchocolate chips
- 3/4 cupheavy cream
- 1/4 cupsugar
- 1 teaspoonvanilla extract
- 1/4 cupchocolate ganache
Instructions
- Line a springform pan with parchment paper.
- Spread a layer of softened chocolate chip cookie dough ice cream on the bottom of the pan.
- Sprinkle a layer of crushed chocolate chip cookies over the ice cream and press down gently.
- Freeze for 2 hours or until firm.
- In a bowl, whip the heavy cream, sugar, and vanilla extract until soft peaks form.
- Spread the whipped cream over the frozen cookie layer.
- Drizzle chocolate ganache over the whipped cream.
- Top with chocolate chips and freeze for another 2-3 hours until set.
- Before serving, let the cake sit at room temperature for 10 minutes to soften slightly.
Notes
Serving Suggestions:Serve with a warm cup of coffee to complement the sweet, creamy texture of the cake.
Storage Tips:This cake can be stored in the freezer for up to a week. Ensure it’s covered properly to maintain its taste and texture.
Variations:Consider adding a layer of caramel or a sprinkle of sea salt for an extra flavor dimension.
“`