Crispy Chicken Tempura Roll Recipe – Easy 30-Min Sushi
“`html
Table of Contents
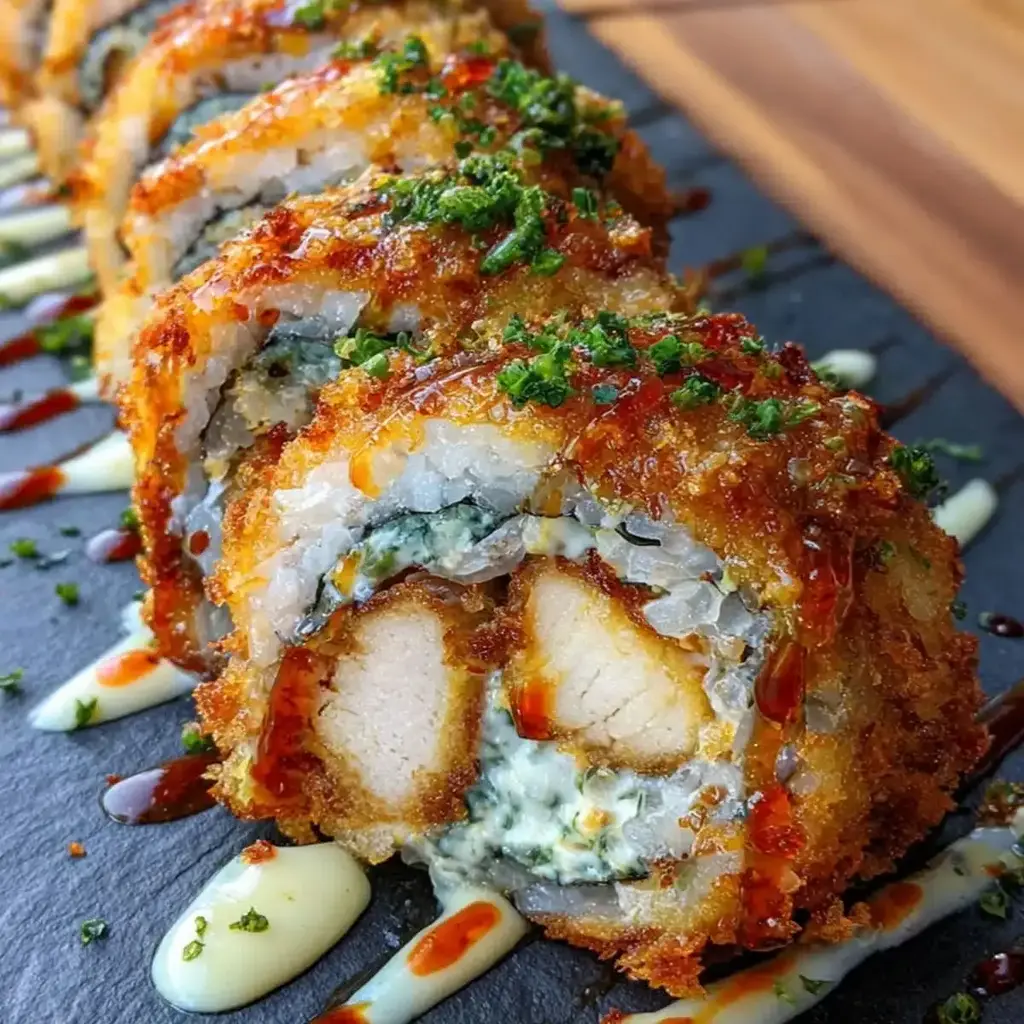
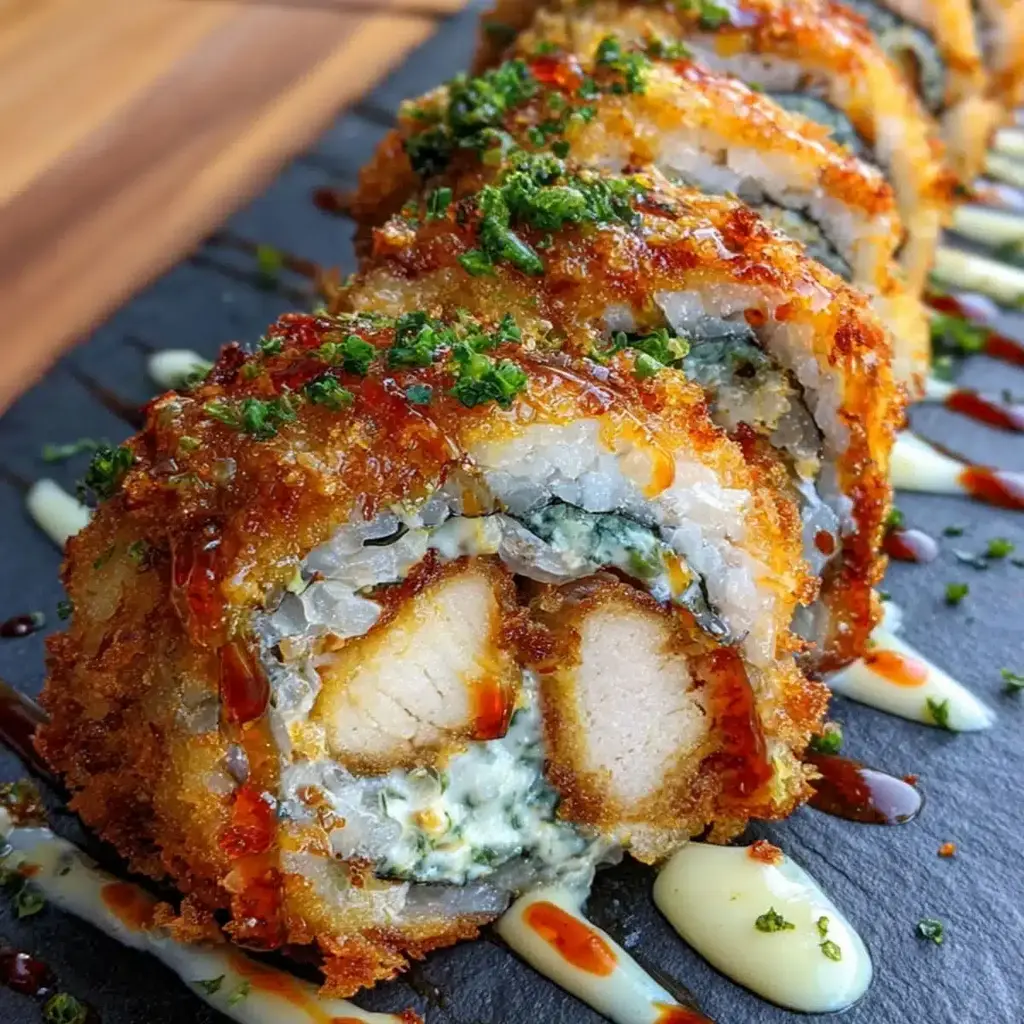
Crispy Chicken Tempura Roll Recipe – Easy 30-Min Sushi
Craving Restaurant-Quality Sushi at Home? In Under 30 Minutes?
Ingredients for Deliciousness
For the Crispy Chicken Tempura:
- 1 boneless, skinless chicken breast (about 6-8 oz), cut into strips about 1/2 inch thick and 3 inches long. *Tip: Ensure even thickness for uniform cooking.*
- 1/2 cup all-purpose flour for dredging. *Substitution: You can use rice flour or even a gluten-free blend.*
- 1 large egg, lightly beaten.
- 1 cup panko breadcrumbs. *These are crucial for that super crispy texture! No good substitutes here if you want authentic crunch.*
- Vegetable oil, for frying (about 2-3 inches in a deep pan or wok). *Or any neutral high-heat oil like canola or peanut oil.*
- Salt and freshly ground black pepper, to taste.
- Pinch of garlic powder (optional, for extra flavor).
For the Sushi Rice:
- 1 cup sushi rice (short-grain Japanese rice). *Crucial for sticky texture. Do NOT use long-grain rice like Basmati or Jasmine.*
- 1.25 cups water, plus more if needed.
- 2 tablespoons rice vinegar.
- 1 tablespoon granulated sugar.
- 1/2 teaspoon salt. *This mixture is called ‘sushi-zu’ and seasons the rice perfectly.*
For Rolling the Sushi:
- 4 sheets of nori (seaweed for sushi). *Look for dark green, flexible sheets.*
- Soy sauce, for serving. *Low-sodium option is great too.*
- Wasabi paste, for serving (optional).
- Pickled ginger (gari), for serving (optional).
- Spicy mayo (optional, for drizzling). Mix mayonnaise with sriracha to taste.
Speedy Sushi: Your 30-Minute Timeline
Prep time: 15 minutes
Cook time: 15 minutes
Total time: 30 minutes
Compared to average: This recipe is significantly faster than many sushi recipes that involve more complex fillings or longer cooking times for the rice. The quick-fry of the chicken and efficient rice cooking make it a weeknight hero!
Step-by-Step: Crafting Your Crispy Chicken Tempura Rolls
Step 1: Prepare the Chicken
Step 2: Cook the Rice
Step 3: Prepare the Tempura Batter
Step 4: Fry the Chicken
Step 5: Assemble the Rolls
Step 6: Slice and Serve
Nutritional Snapshot (Per Roll, approximate)
- Calories: ~250-350 kcal
- Protein: ~10-15g
- Fat: ~10-18g (varying with frying)
- Carbohydrates: ~30-40g
Healthier Swaps, Flavor Intact
- Baking vs. Frying: Instead of deep-frying, toss the breaded chicken strips with a little oil and bake them on a wire rack at 400°F (200°C) for 15-20 minutes, flipping halfway, until golden and cooked. It won’t be exactly the same crunch, but it’s a significant calorie saver. You could also air fry them!
- Brown Rice: Use brown sushi rice for added fiber. It may require slightly more water and cooking time.
- Lighter Mayo: Opt for a light or avocado-oil-based mayonnaise for your spicy mayo drizzle.
- Reduced Sodium Soy Sauce: A simple switch that significantly cuts down on sodium intake.
Perfect Pairings for Your Rolls
- Miso Soup: A classic, warming starter.
- Edamame: Steamed and lightly salted, a perfect appetizer.
- Green Salad: A simple salad with a ginger-sesame dressing offers a refreshing contrast.
- Sake or Green Tea: The traditional beverages to complete the experience.
Avoiding Sushi Slip-Ups
- Using the Wrong Rice: Long-grain rice will not achieve the sticky texture needed for sushi. Always use short-grain sushi rice.
- Overcrowding the Pan: Frying too much chicken at once will lower the oil temperature, resulting in greasy, soggy chicken instead of crispy perfection.
- Wet Hands or Knife: Forgetting to wet your hands when handling rice or your knife when slicing will lead to sticking and messy rolls.
- Over-seasoning the Rice: Too much vinegar or sugar can make the rice taste unbalanced. Taste as you go and follow the ratios.
Keep Your Sushi Fresh
- Refrigeration: Store any leftover rolls in an airtight container in the refrigerator for up to 24 hours.
- Crispness Factor: Be aware that the crispy chicken will lose some of its crunch over time when refrigerated.
- Room Temperature: Sushi is generally not recommended to be left at room temperature for extended periods due to food safety concerns.
Frequently Asked Questions (FAQs)
***Are chicken tempura rolls the same as traditional tempura sushi?***
Traditional tempura sushi often involves shrimp or vegetables that are dipped in a wet, tempura batter before frying. This recipe uses “tempura” to describe the style of crispy coating using panko breadcrumbs for the chicken, giving it a fantastic crunch.**
***Can I make the chicken ahead of time?***
Yes, you can fry the chicken strips a few hours in advance. Let them cool completely and store them at room temperature. Reheat them briefly in a toaster oven or air fryer if you want to regain some crispness before assembling the rolls. However, for the best texture, it’s ideal to fry them closer to assembly time.**
***What can I substitute for nori?***
While nori is traditional, if you have a specific reason you can’t use it (like an allergy or preference), you could try large soy paper wrappers or even thin rice paper (though this would change the texture significantly). Your best bet for a similar experience is to find an alternative seaweed wrapper.**
***My sushi rice is too sticky/mushy. What went wrong?***
This usually happens if the rice wasn’t rinsed properly, if too much water was used, or if it was over-stirred. Make sure to rinse thoroughly and use the specified water-to-rice ratio. Gently fold the vinegar mixture and avoid mashing the rice.**
Your 30-Minute Sushi Journey Awaits!
Ready to make these delicious rolls? Share your creations with us! What are your favorite sushi fillings? Let us know in the comments below!
Crispy Chicken Tempura Roll Recipe – Easy 30-Min Sushi

Japanese-inspired sushi featuring crispy fried chicken breast wrapped in seasoned rice and nori. This easy recipe shows you how to make restaurant-quality chicken tempura sushi at home in just 30 minutes.
Ingredients
- 1 cupshort-grain rice
- 1¼ cupscold water
- 2 tablespoonsrice vinegar
- 1 tablespoonsugar
- 1 tablespoonsalt
- 1chicken breast (about8 oz)
- ½ cupplain flour
- ½ cupcorn flour (cornstarch)
- ½ teaspoonsalt +¼ teaspoonblack pepper
- 1½ cupsneutral cooking oil
- 1nori sheet
- 1ripe avocado
- White and black sesame seeds
Instructions
- Rinse the rice until water runs clear (usually 3-4 times)
- Combine rice and water in a pot using 1:1.25 ratio
- Bring to a boil over high heat, then immediately reduce to lowest setting. Cover tightly and simmer for exactly 12 minutes
- Let it steam off heat for 10 minutes
- Season while warm by gently folding in your vinegar mixture
- Slice chicken breast into ½-inch strips against the grain
- Create the double-flour coating system: Mix plain flour with half the seasonings in one bowl, corn flour with remaining seasonings in another
- Heat oil to exactly 350°F (175°C)
- Coat and fry each strip for 3-4 minutes until achieving a gorgeous honey-gold color
- Drain properly on a wire rack
- Position your nori shiny side down on the bamboo mat
- Spread rice evenly, leaving a 1-inch border at the top
- Create the filling line about ⅓ from the bottom edge: place 2-3 tempura strips end-to-end, add avocado slices alongside
- Execute the roll: lift the mat’s bottom edge, fold nori over filling, apply gentle even pressure while rolling forward
- Slice using a sharp, wet knife with one confident pull-through motion
Notes
Use Japanese rice varieties like Nishiki or Calrose for authentic sticky texture
The Ice Water Trick: Dip your tempura in ice water for 1 second before frying for extra crispiness
Apply spicy mayo under the chicken to prevent sogginess
Cut at a 40-degree angle for stunning presentation
Air fryer reheating at 350°F for 3-4 minutes restores 95% of original crispiness
Never use microwave for reheating – it makes coating rubbery
Best enjoyed fresh, but can be stored up to 24 hours refrigerated in airtight containers
Nutrition
- Calories: 352
- Fat: 14g
- Carbohydrates: 38g
- Protein: 22g
“`