Decadent Black Velvet Cake – Your Next Easy Dessert Obsession!
“`html
Table of Contents
Decadent Black Velvet Cake – Your Next Easy Dessert Obsession!
Welcome, dessert lovers! Are you looking for a dessert that’s both visually stunning and incredibly delicious? If you’re craving a rich, moist, and deeply chocolatey cake that’s surprisingly easy to make, then you’re in the right place! This recipe for Decadent Black Velvet Cake is the perfect fusion of a classic chocolate cake with a touch of sophisticated elegance. Its deep, dark color is dramatic and inviting, making it a fantastic centerpiece for any celebration, from birthdays and anniversaries to holiday gatherings or even just a special weeknight treat. This isn’t just a cake; it’s an experience. Ready to dive into a slice of pure dessert bliss that will have everyone asking for the recipe? Let’s get baking this irresistible masterpiece!
Is a Decadent Black Velvet Cake Difficult to Make?
Many home bakers shy away from impressive-looking cakes, thinking they require advanced skills and hours of effort. However, what if I told you that a truly decadent Black Velvet Cake, with its luxurious texture and dramatic hue, can be surprisingly straightforward to whip up? In fact, this recipe aims to prove that even beginners can achieve show-stopping results without the stress. We’ll guide you through each step, demystifying the process so you can confidently create a dessert that looks like it came from a high-end bakery but tastes like pure homemade love. Forget complicated techniques and intimidating steps; this Black Velvet Cake is designed for maximum impact with minimum fuss. You might be surprised how simple it is to achieve such an extraordinary dessert.
The Symphony of Flavors: Ingredients for Black Velvet Cake
The magic of a Black Velvet Cake lies in its balanced flavors and textures. We’re aiming for a deep, rich chocolate taste without being overly bitter, a tender crumb, and that signature dark, alluring color. Here’s what you’ll need to create this masterpiece. We’ve also included some sensory descriptions to help you appreciate each component.
-
2 cups (250g) All-Purpose Flour: The foundation of our cake, providing structure. Sifted, it feels like a soft, powdery cloud.
- Substitution: You can use cake flour for an even more tender crumb, but reduce slightly if it’s very fine.
- 1 ½ cups (300g) Granulated Sugar: For sweetness and moisture, this should be fine and crystalline.
-
¾ cup (65g) Unsweetened Dutch-Processed Cocoa Powder: This is key for that deep, dark color and intense chocolate flavor. It should be a fine, dark brown powder with a rich, earthy aroma.
- Substitution: Natural unsweetened cocoa powder will work, but the color won’t be as deep, and you might need an extra pinch of baking soda to balance the acidity.
- 2 teaspoons Baking Soda: Our leavening agent, essential for a light, airy texture. These tiny granules pack a punch.
- 1 teaspoon Baking Powder: Works with baking soda for a beautiful rise.
- ½ teaspoon Salt: Enhances all the other flavors, balancing sweetness.
-
1 cup (240ml) Buttermilk: Provides moisture, tenderness, and a subtle tang that complements the chocolate. It’s a smooth, slightly thick liquid.
- Substitution: You can make a buttermilk substitute by mixing 1 tablespoon of white vinegar or lemon juice with enough milk (dairy or non-dairy) to equal 1 cup, and letting it sit for 5-10 minutes until it thickens slightly.
-
1 cup (240ml) Hot Brewed Coffee OR Hot Water: Coffee intensifies the chocolate flavor without imparting a coffee taste. Hot liquid helps bloom the cocoa powder for a richer flavor. It should be steaming when added.
- Substitution: Hot water is perfectly fine if you prefer to avoid any coffee notes.
-
½ cup (120ml) Vegetable Oil: For supreme moistness and a tender crumb. It’s a clear, slightly viscous liquid.
- Substitution: Canola oil, melted coconut oil (if flavor is desired), or another neutral-flavored oil.
-
2 Large Eggs: Room temperature eggs bind, enrich, and contribute to the cake’s structure. They should feel slightly cool and smooth.
- Substitution: For an egg-free version, try using flax eggs (2 tablespoons ground flaxseed mixed with 6 tablespoons water, let sit for 10 minutes) or commercial egg replacers. Note that texture may vary.
- 1 teaspoon Vanilla Extract: Adds warmth and depth to the chocolate flavor. It’s a fragrant, amber-colored liquid.
- 1-2 drops Black Food Coloring (Optional): For that dramatic, truly “black” velvet appearance. Use gel or liquid.
Timing is Everything: Prep, Cook, and Total Time
15 minutes
30-35 minutes
45-50 minutes (plus cooling and frosting)
Compared to many elaborate cakes that can take 2-3 hours of active prep and baking, this Black Velvet Cake is remarkably efficient. The 15 minutes of prep covers measuring and mixing, and the 30-35 minutes of baking is standard for a two-layer cake. This makes it an ideal choice for when you want to impress without spending all day in the kitchen.
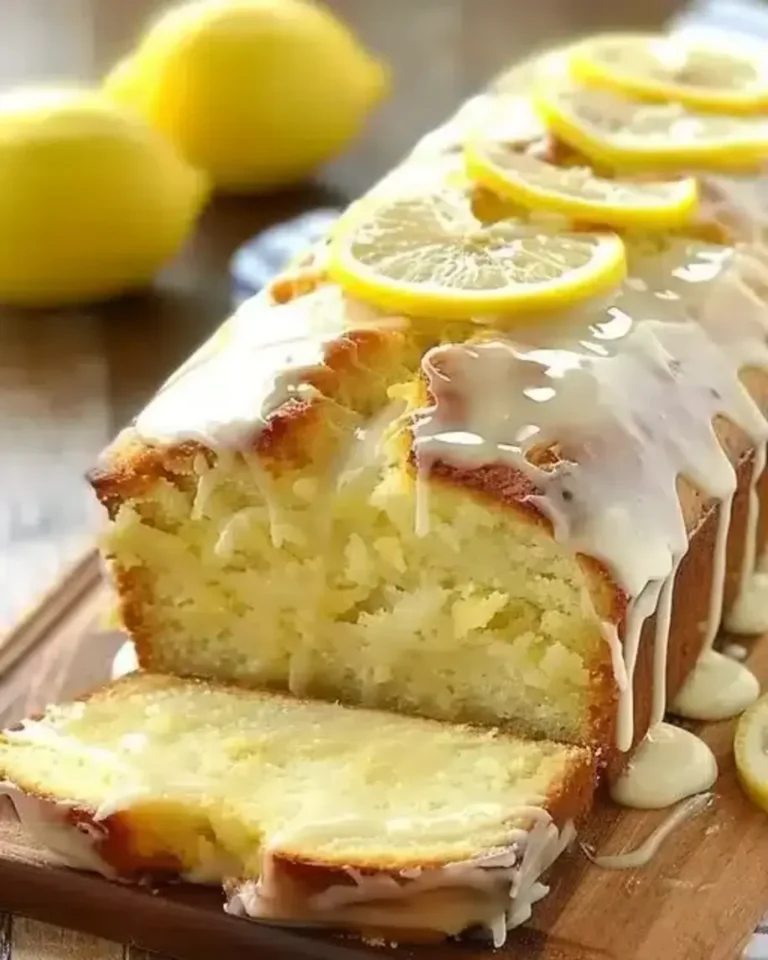
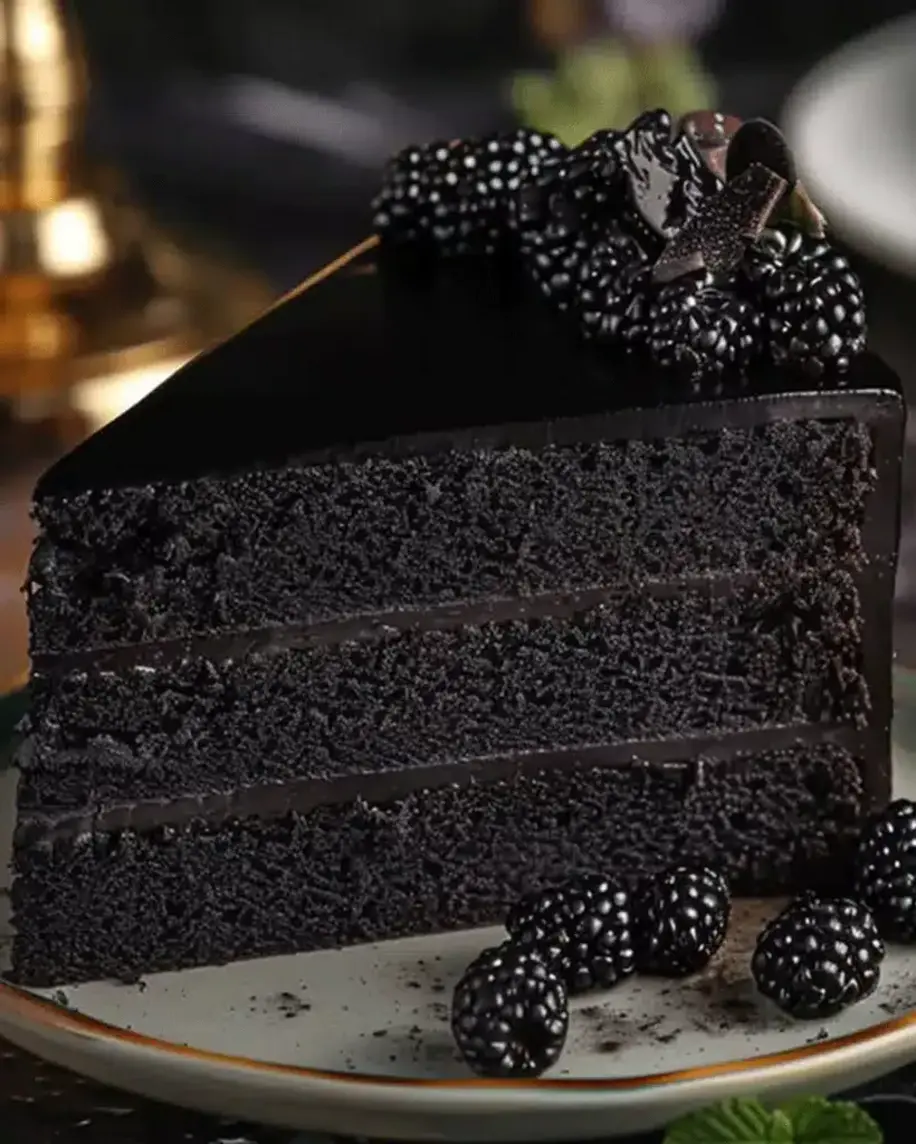
A perfectly baked slice of Black Velvet Cake, highlighting its deep, rich color.
Step-by-Step Instructions: Crafting Your Black Velvet Masterpiece
Follow these simple steps to create your very own Decadent Black Velvet Cake. We’ve made them as clear and encouraging as possible!
Step 1: Preheat and Prepare
Let’s get our oven and pans ready! Preheat your oven to 350°F (175°C). Grease and flour two 8-inch or 9-inch round cake pans. For an extra layer of insurance against sticking, you can also line the bottoms with parchment paper. This preparation ensures your beautiful cake layers slide out effortlessly.
Step 2: Combine Dry Ingredients
In a large mixing bowl, whisk together the sifted all-purpose flour, granulated sugar, Dutch-processed cocoa powder, baking soda, baking powder, and salt. Whisking thoroughly ensures that all the leavening agents and cocoa are evenly distributed, preventing any pockets of salt or baking soda in your final cake.
Step 3: Whisk Wet Ingredients
In a separate medium bowl, whisk together the buttermilk, vegetable oil, room temperature eggs, and vanilla extract until well combined. If you’re using black food coloring, add it here now and whisk it in. This step ensures your cake has a consistent moisture level and flavor throughout.
Step 4: Combine Wet and Dry
Pour the wet ingredients into the bowl with the dry ingredients. Mix on low speed (or with a whisk) until just combined. Be careful not to overmix at this stage; a few small lumps are okay. Overmixing can develop the gluten in the flour, leading to a tougher cake.
Step 5: Add the Chocolate Magic
Gently stir in the hot brewed coffee or hot water. The batter will become quite thin – this is exactly what we want! The hot liquid helps “bloom” the cocoa powder, intensifying its flavor and contributing to the cake’s incredibly moist texture. Mix until the batter is smooth.
Step 6: The Velvet Touch
If you’re using black food coloring and haven’t added it yet, now is the time to do so (about 1-2 drops for a deep black). Stir it in gently until the batter reaches your desired enchanting dark hue. Remember, the color will deepen slightly as it bakes.
Step 7: Bake to Perfection
Divide the batter evenly between the prepared cake pans. Bake for 30-35 minutes, or until a wooden skewer or toothpick inserted into the center of the cakes comes out clean. The tops should spring back lightly when touched.
Step 8: Cool and Anticipate
Once baked, let the cake layers cool in their pans on a wire rack for about 10-15 minutes. Then, carefully invert them onto the wire rack to cool completely. Patience here is key – warm cakes are fragile and can break.
Step 9: Frosting Delight
While your cake layers are cooling, prepare your favorite frosting. A classic cream cheese frosting, a rich chocolate ganache, or a decadent black cocoa buttercream would be divine. Once the cakes are completely cool, assemble and frost them. A final dusting of cocoa powder or some chocolate shavings can add an extra touch of elegance.
Nutritional Snapshot
While precise nutritional information can vary based on specific ingredient brands and portion sizes, a typical serving of this Decadent Black Velvet Cake is estimated to contain:
- Calories: Around 350-450 per slice (depending on frosting)
- Fat: 15-25g
- Carbohydrates: 50-60g
- Protein: 4-6g
- Sugar: 30-40g
*Please note: This is an estimate. For precise calculations, use a nutrition calculator with your specific ingredients.*
Healthier Twists (Without Sacrificing Flavor!)
Want to enjoy this decadent treat with a slightly lighter conscience? Here are a few swaps that can help:
- Reduced Sugar: While sugar contributes to moisture and texture, you can try reducing it by ¼ cup. For sweetness without relying solely on sugar, consider using a small amount of a natural sweetener like maple syrup or a sugar substitute, keeping in mind it might alter the texture slightly.
- Whole Wheat Flour: Replace up to half of the all-purpose flour with whole wheat pastry flour for added fiber. The cake might be a touch denser but still delicious.
- Lower Fat Frosting: Opt for a Greek yogurt-based frosting or a lighter whipped cream frosting instead of a heavy buttercream. You can also use a sugar-free chocolate ganache.
- Natural Color: If avoiding food coloring, rely on good quality Dutch-processed cocoa and the coffee; the cake will still have a beautiful deep chocolate color, though not intensely black.
Serving Suggestions for Maximum Impact
This cake is a showstopper on its own, but here are some ideas to elevate your serving:
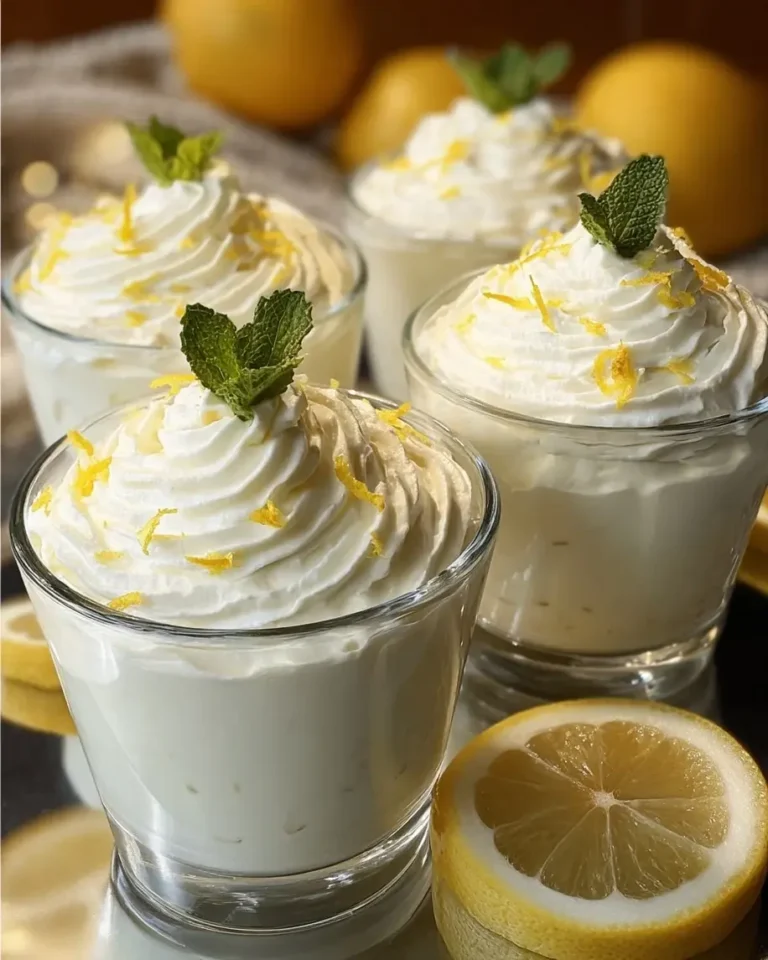
- Classic Pairing: Serve with a dollop of fresh whipped cream or vanilla ice cream.
- Berry Elegance: Garnish with fresh raspberries or strawberries for a beautiful color contrast and a burst of fresh flavor.
- Chocolate Lover’s Dream: Drizzle with a dark chocolate ganache or serve with chocolate shavings.
- Coffee Companions: Pair with a rich espresso or a strong cup of coffee for a sophisticated dessert experience.
Common Mistakes to Avoid
Don’t let these common baking pitfalls ruin your Black Velvet dream!
- Overmixing the Batter: This is the most common culprit for tough cakes. Mix until just combined, especially after adding the flour.
- Using Cold Ingredients: Ensure eggs and buttermilk are at room temperature (unless the recipe specifies otherwise) for better emulsification and a smoother batter.
- Opening the Oven Door Too Soon: Resist peeking! Opening the oven door too early can cause your cake to sink. Wait until the baking time is nearly up.
- Not Cooling Completely Before Frosting: Warm cake layers will melt your frosting and can lead to a messy construction. Let them cool thoroughly.
- Under-baking or Over-baking: Use the toothpick test as a guide. Under-baking leads to a gooey center, while over-baking results in a dry cake.
Storing Your Black Velvet Cake
To keep your Black Velvet Cake tasting its absolute best:
- Room Temperature: If unfrosted or frosted with a buttercream, store the cake in an airtight container at room temperature for up to 3 days.
- Refrigeration: If the cake is frosted with cream cheese frosting or ganache, it’s best to store it in the refrigerator. Allow it to come to room temperature for about 30 minutes before serving for optimal flavor and texture.
- Freezing: Wrap unfrosted cake layers tightly in plastic wrap and then in foil. They can be frozen for up to 3 months. Thaw overnight in the refrigerator before frosting.

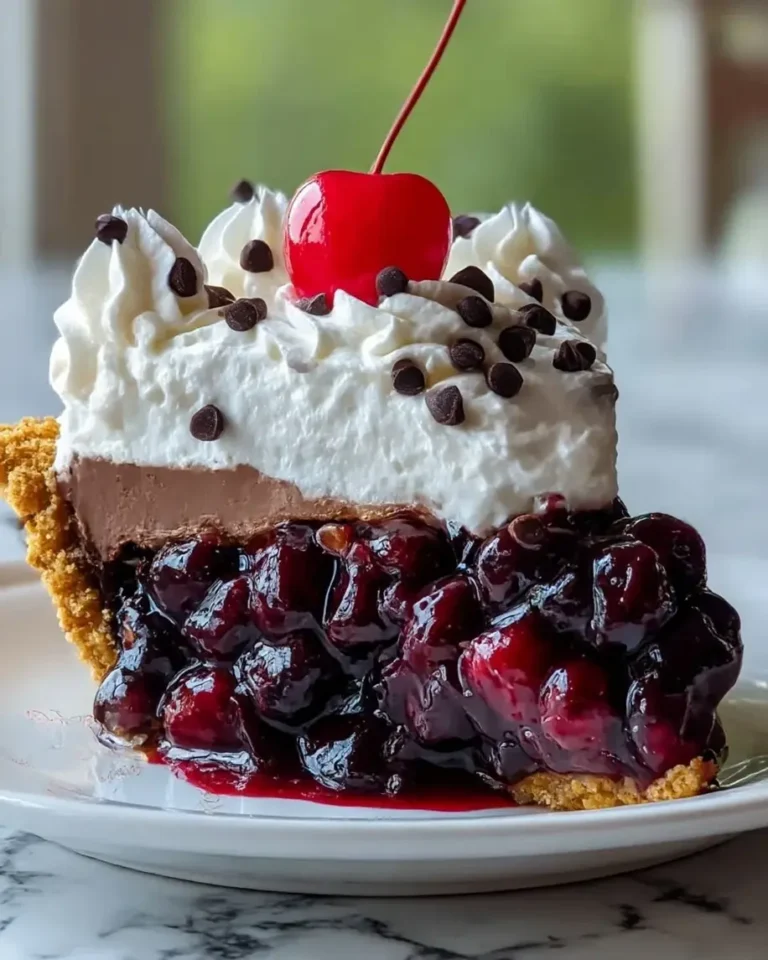
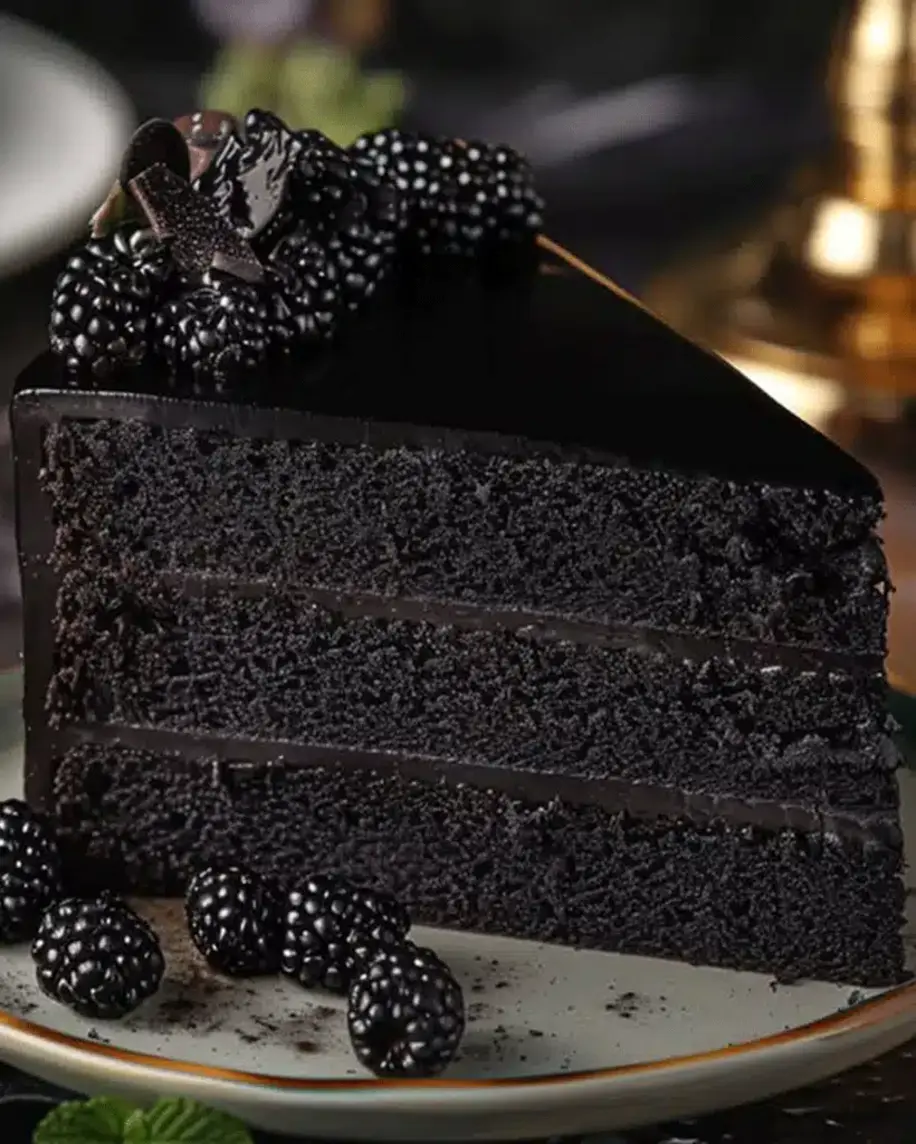
The finished Black Velvet Cake, ready to be enjoyed!
Frequently Asked Questions (FAQs)
***Can I make this cake without food coloring?***
Yes, absolutely! While black food coloring enhances the “black velvet” appearance, the cake will still be wonderfully moist and rich with a deep chocolate flavor from the cocoa powder, though it will be a dark brown rather than true black. Using high-quality Dutch-processed cocoa is key for a darker color.
***Why is my cake dry?***
Dry cake is often a result of overbaking or measuring ingredients incorrectly, particularly too much flour. Ensure you’re measuring your flour accurately (spoon and level method is best) and baking only until a toothpick comes out clean. Also, don’t skip the oil and buttermilk, which are crucial for moisture.
***Can I bake this as a single-layer cake or cupcakes?***
Yes! For a single-layer cake, reduce the baking time slightly (check around 25-30 minutes). For cupcakes, fill liners about two-thirds full and bake for 18-22 minutes, or until a toothpick comes out clean.
***What’s the difference between Dutch-processed cocoa and natural cocoa?***
Dutch-processed cocoa is treated with an alkali to neutralize its acidity, resulting in a smoother, mellower chocolate flavor and a darker color. Natural cocoa powder is more acidic, has a stronger, fruitier flavor, and is typically lighter in color. Dutch-processed cocoa is preferred for this recipe for its color and smoother taste.
***Can I use different types of oil?***
Yes, any neutral-flavored oil like canola or grapeseed oil will work perfectly. If you don’t mind a subtle coconut flavor, melted coconut oil is also an option. Avoid strongly flavored oils like olive oil, as they can alter the cake’s taste.
Your Decadent Dessert Awaits!
There you have it – a recipe for a Decadent Black Velvet Cake that’s as impressive to look at as it is delightful to eat, and surprisingly achievable for any home baker. Its deep, rich chocolate flavor, incredibly moist crumb, and stunning dark hue make it a perfect choice for any occasion that calls for a touch of indulgence. Don’t be intimidated by its name; this is a straightforward recipe designed for pure enjoyment. So, gather your ingredients, preheat your oven, and get ready to bake your next favorite dessert. You’ve got this!
Tried this Decadent Black Velvet Cake? We’d absolutely love to hear about it! Share your thoughts in the comments below, or tag us in your stunning cake creations on social media. Your feedback and photos inspire our baking community!
Luxurious Black Velvet Cake – Easy Dessert Recipe
Welcome, dessert lovers! Are you ready to indulge in the elegance and decadence of a Luxurious Black Velvet Cake? This recipe is the perfect fusion of a rich chocolate cake and a stunning visual appeal, making it a standout choice for celebrations or a cozy dinner party. Let’s dive into this irresistible masterpiece!
Ingredients
- 2 cupsall-purpose flour
- 2 cupsgranulated sugar
- 1 cupunsweetened cocoa powder
- 2 teaspoonsbaking powder
- 1 1/2 teaspoonsbaking soda
- 1 teaspoonsalt
- 1 cupbuttermilk (room temperature)
- 1/2 cupvegetable oil
- 2large eggs (room temperature)
- 2 teaspoonsvanilla extract
- 1 cupboiling water
- 1/2 cupblack food coloring gel
- 1 cupunsalted butter (softened)
- 4 cupspowdered sugar
- 1/2 cupunsweetened cocoa powder
- 1/4 cupheavy cream
- 2 teaspoonsvanilla extract
- 1/2 cupblackberry preserves
- Fresh blackberries
- Dark chocolate shavings
- Fresh mint leaves
Instructions
- Preheat your oven to 350°F (175°C). Grease and flour three 8-inch round cake pans.
- In a large mixing bowl, sift together the flour, sugar, cocoa powder, baking powder, baking soda, and salt.
- In another bowl, whisk buttermilk, vegetable oil, eggs, and vanilla extract. Gradually combine the wet mixture with the dry ingredients.
- Slowly mix in the boiling water and black food coloring gel until the batter is smooth.
- Divide the batter evenly among the prepared pans. Bake for 30-35 minutes or until a toothpick inserted in the center comes out clean. Let the cakes cool for 10 minutes before transferring them to wire racks.
- Beat the butter until creamy. Gradually add powdered sugar, cocoa powder, heavy cream, and vanilla extract. Continue beating until light and fluffy.
- Spread a layer of blackberry preserves between each cake layer. Frost the top and sides with the chocolate frosting.
- Decorate with fresh blackberries, dark chocolate shavings, and mint leaves.
Notes
Use room-temperature ingredients for a smoother batter.
Sift cocoa powder to avoid lumps in the cake and frosting.
For an extra moist cake, wrap each layer in plastic wrap and refrigerate overnight before frosting.
“`