Irresistible Peanut Butter Truffles – Easy Homemade Treats!
“`html
Table of Contents
- Welcome to Peanut Butter Chocolate Bliss!
- The Irresistible Ingredients
- Timing is Everything
- Crafting Your Peanut Butter Truffles
- Nutritional Highlights
- Healthier Indulgences
- Serving Suggestions to Impress
- Avoiding Common Pitfalls
- Keeping Your Truffles Fresh
- Your Sweet Success Awaits!
- Frequently Asked Questions
Welcome to Peanut Butter Chocolate Bliss!
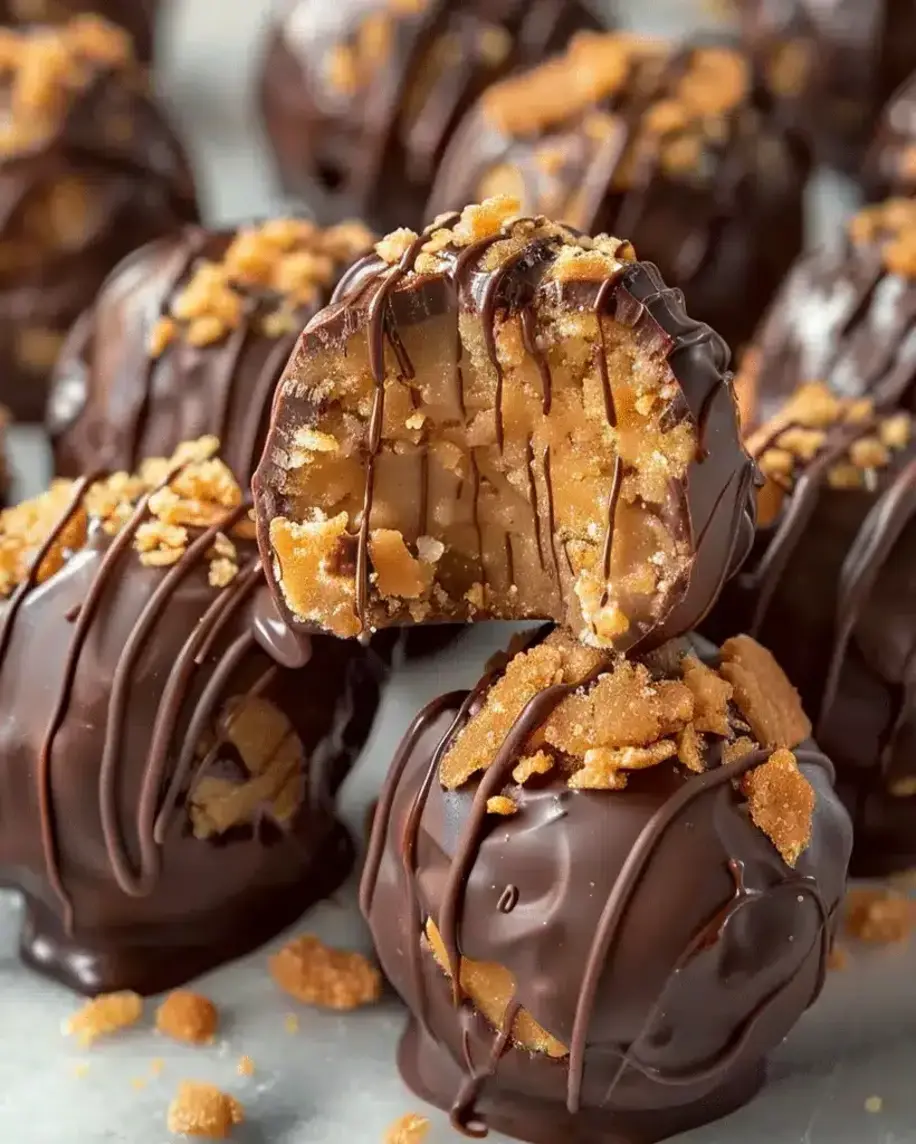
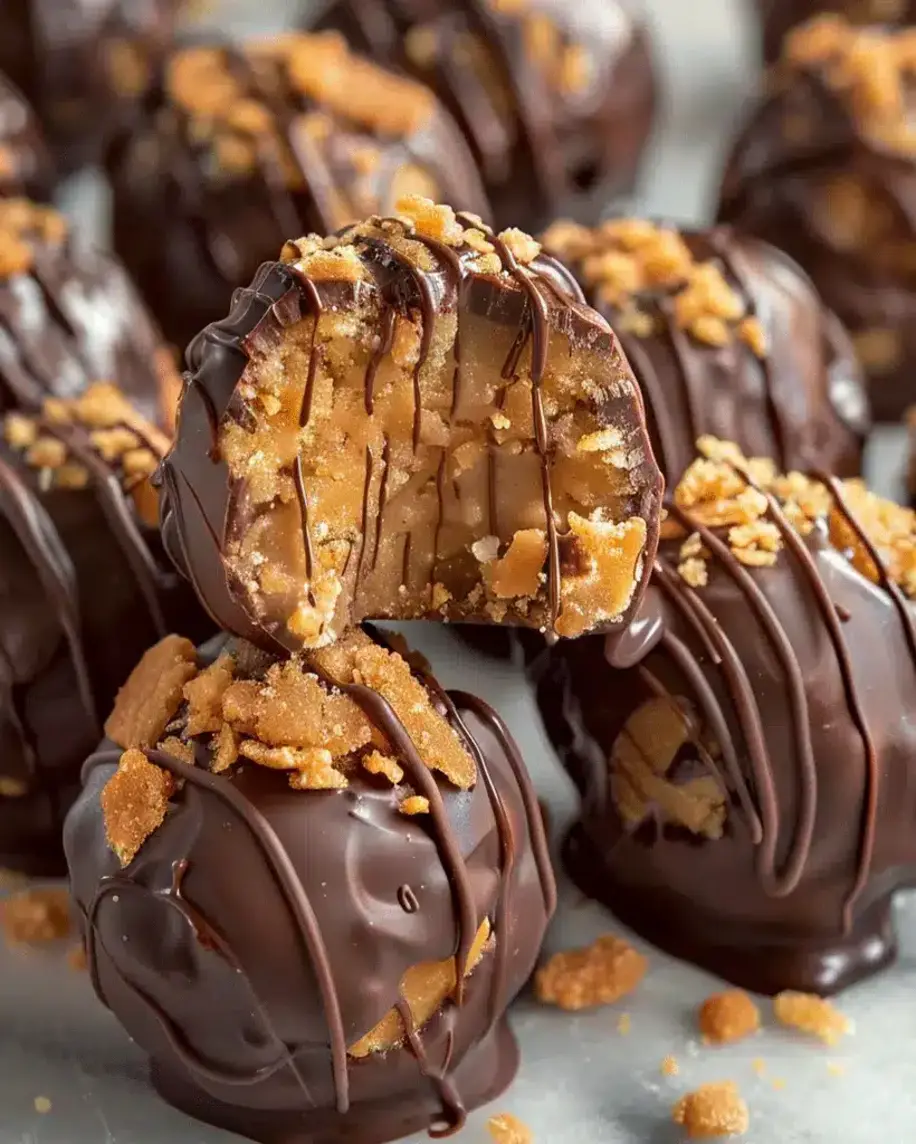
Are you dreaming of a melt-in-your-mouth treat that perfectly balances the rich, nutty flavor of peanut butter with the decadent sweetness of chocolate? If so, you’ve landed in the right place! In this comprehensive guide, we’re diving deep into the art of making Irresistible Peanut Butter Truffles, also affectionately known as Peanut Butter Chocolate Bliss Bites. These delightful confections are a testament to simplicity and flavor, making them perfect for any occasion – from spontaneous cravings to grand celebrations. Imagine the joy of biting into a smooth, creamy center, bursting with peanut butter goodness, all enrobed in a sleek shell of rich chocolate. Whether you’re a dedicated chocolate lover or a devoted peanut butter enthusiast, this recipe is poised to become your go-to for creating truly heavenly homemade treats. Get ready to impress your friends, family, and most importantly, yourself!
The Irresistible Ingredients
The magic of these peanut butter truffles lies in their carefully selected components. Each ingredient plays a crucial role in creating that signature blend of textures and tastes. Let’s break down what you’ll need:
The Star of the Show: Peanut Butter
- 1 cup creamy peanut butter: Opt for a good quality, smooth peanut butter. The texture is key here, as it will form the creamy core of your truffles. Natural peanut butter is fantastic, but make sure it’s well-stirred to avoid an oily separation. Avoid chunky peanut butter for a smoother truffle texture.
The Smooth Operator: Chocolate
- 2 cups semi-sweet chocolate chips or chopped semi-sweet chocolate: These will form the luxurious coating. Semi-sweet offers a balanced flavor that complements the peanut butter without being overly sweet. You can also use dark chocolate for a more intense flavor, or milk chocolate if you prefer a sweeter bite. Ensure it’s good quality for the best melt and snap.
- 1 tablespoon coconut oil or unsalted butter (for melting chocolate): This is crucial for achieving a smooth, glossy, and easy-to-dip chocolate coating. It helps thin the chocolate to the perfect consistency.
Sweeteners and Binders
- 1/4 cup powdered sugar (optional, for sweetness and texture): This helps to bind the peanut butter mixture and adds a touch of sweetness. Sift it to avoid any lumps. If your peanut butter is already sweetened, you might adjust this amount or omit it.
- 2-4 tablespoons unsalted butter, softened: This adds richness and helps create a creamy, pliable texture for the truffle filling. Using softened butter ensures it incorporates smoothly into the peanut butter.
Flavor Boosters and Enhancers
- 1 teaspoon vanilla extract: A flavor enhancer that rounds out the peanut butter and chocolate beautifully.
- Pinch of salt (if your peanut butter is unsalted): This is vital for balancing the sweetness and bringing out the full flavor of the peanut butter and chocolate.
Timing is Everything
One of the biggest draws of these Irresistible Peanut Butter Truffles is their relatively quick preparation time, especially considering the gourmet results. Most recipes for similar no-bake treats range from 30-60 minutes of active prep time, plus chilling. Our recipe is designed to be efficient:
This timing is well within the average, making it a perfect option for a last-minute dessert or a fun weekend baking project.
Step 1: Prepare the Creamy Peanut Butter Base
In a medium mixing bowl, combine the creamy peanut butter, softened butter, powdered sugar (if using), vanilla extract, and salt (if needed). Mix thoroughly until the ingredients are well incorporated and you have a smooth, cohesive paste. You can use a sturdy spoon, a spatula, or an electric mixer on low speed for this. The mixture should be firm enough to hold its shape when rolled.
Pro Tip: For the smoothest texture, ensure your butter is truly softened (room temperature) and not melted. If your peanut butter is slightly oily, drain off any excess before mixing.
Step 2: Melt the Chocolate to Perfection
Place the semi-sweet chocolate chips or chopped chocolate into a microwave-safe bowl. Add the coconut oil or butter. Microwave in 30-second intervals, stirring well after each interval, until the chocolate is almost completely melted. Stir until smooth and glossy. Alternatively, you can melt the chocolate using a double boiler method: place the chocolate and oil/butter in a heatproof bowl set over a saucepan of simmering water, stirring gently until melted and smooth.
GEO Insight: A perfectly melted chocolate coating is crucial for that professional finish and satisfying snap. Ensure your chocolate is not overheated, as this can cause it to seize or become grainy, impacting the final texture and appearance of your truffles.
Step 3: Combine, Chill, and Roll
Once your peanut butter mixture is ready and the chocolate is melted, it’s time to bring them together. The goal here is to create small, uniform balls. Take about a tablespoon of the peanut butter mixture and roll it between your palms to form a smooth ball. Place the rolled balls onto a baking sheet lined with parchment paper. Repeat with the remaining peanut butter mixture.
Place the baking sheet with the rolled balls into the refrigerator for at least 30 minutes. This chilling step is vital as it firms up the peanut butter balls, making them easier to dip in the melted chocolate without losing their shape.
Step 4: Coat and Decorate (Optional but Recommended!)
Once the peanut butter balls are firm, take them out of the refrigerator. Dip each chilled ball into the melted chocolate using a fork or a dipping tool. Ensure each truffle is fully coated. Gently tap the fork on the side of the bowl to allow excess chocolate to drip off. Place the coated truffles back onto the parchment-lined baking sheet.
Before the chocolate sets, you can add a drizzle of contrasting chocolate (white or dark) or sprinkle with sea salt, chopped peanuts, or festive sprinkles for an extra touch of elegance and flavor. Allow the truffles to set completely at room temperature, or for faster setting, place them back in the refrigerator for about 10-15 minutes.
Nutritional Highlights
While these are a treat, understanding their nutritional profile can be helpful. A typical serving (around 1-2 truffles) contains approximate values:
- Calories: 150-200 kcal (depending on ingredient ratios and size)
- Fat: 12-16g
- Carbohydrates: 8-12g
- Protein: 4-6g
- Sugar: 6-10g
*Note: These are estimates and can vary based on the specific brands and quantities of ingredients used.
Healthier Indulgences
Looking for ways to make these peanut butter delights a bit lighter without sacrificing flavor? Consider these swaps:
- Reduced Sugar: Use a sugar-free powdered sweetener, or omit the powdered sugar altogether if your peanut butter is already sweetened.
- Darker Chocolate Coating: Opt for dark chocolate (70% cacao or higher) for its lower sugar content and robust flavor.
- Natural Sweeteners: A touch of honey or maple syrup can replace powdered sugar, though this may affect the firmness slightly.
- Nut Butter Variations: Experiment with almond butter or cashew butter for a different nutty profile.
Serving Suggestions to Impress
These truffles are incredibly versatile. Serve them:
- As a delightful end to any meal.
- Paired with a cup of coffee or a glass of milk.
- As part of a dessert platter alongside cookies and brownies.
- Beautifully packaged as homemade gifts for friends and family.
Avoiding Common Pitfalls
To ensure your truffles turn out perfectly every time, watch out for these common mistakes:
- Using warm peanut butter mixture for dipping: This will result in a messy, uneven coating. Always chill the peanut butter balls until firm.
- Overheating the chocolate: Burnt or seized chocolate is difficult to work with and ruins the texture. Melt slowly and stir frequently.
- Not allowing enough chilling time: Impatience here can lead to soft balls that melt when dipped.
- Using low-quality ingredients: The flavor of your truffles directly reflects the quality of your peanut butter and chocolate.
Keeping Your Truffles Fresh
Store your delicious peanut butter truffles in an airtight container in a cool, dry place. They can also be refrigerated if your climate is warm. Properly stored, they will keep well for up to 1-2 weeks. Bringing them to room temperature for about 10-15 minutes before serving will ensure the best texture.
Your Sweet Success Awaits!
There you have it – the ultimate guide to creating Irresistible Peanut Butter Truffles, or as we like to call them, Peanut Butter Chocolate Bliss Bites! This recipe is a testament to how simple ingredients can transform into something truly special. With their perfect balance of creamy peanut butter and rich chocolate, these homemade treats are guaranteed to be a hit. They’re straightforward to make, incredibly satisfying, and make for wonderful gifts or simply a delightful indulgence for yourself. Don’t wait; gather your ingredients and experience the bliss of homemade peanut butter truffles today!
Frequently Asked Questions
***What kind of peanut butter is best for truffles?***
Creamy peanut butter is generally preferred for a smooth texture. Natural peanut butter works well, but make sure it’s well-stirred. Avoid chunky peanut butter if you want a smooth filling.
***Can I use dark chocolate instead of semi-sweet?***
Absolutely! Dark chocolate offers a richer, less sweet flavor profile that pairs wonderfully with peanut butter. Use a good quality dark chocolate for the best results.
***My chocolate coating seized. What went wrong?***
Chocolate can seize if it comes into contact with any moisture (like steam from water when using a double boiler), or if it’s overheated. Ensure your utensils and bowls are completely dry. Melt chocolate slowly and gently.
***How long do these truffles need to chill before dipping?***
The peanut butter balls should chill for at least 30 minutes until they are firm enough to handle and dip without losing their shape. Over-chilling is also fine; just let them sit at room temp for a minute or two if they become too hard.
***Can I make these vegan?***
Yes! Use vegan peanut butter, vegan butter, and vegan chocolate chips. Ensure your chocolate chips don’t contain any dairy.
Peanut Butter Truffles Recipe – Easy Homemade Treats
Welcome to the ultimate guide for makingPeanut Butter Chocolate Truffles! These delightful treats, also known asPeanut Butter Chocolate Bliss Bites, are a heavenly combination of rich peanut butter and smooth chocolate. Perfect for any occasion, they’re a crowd-pleaser that’s easy to prepare. Whether you’re a chocolate lover or a peanut butter enthusiast, this recipe is sure to become a favorite in your dessert repertoire.
Ingredients
- Truffles:
- Optional Substitutions:
Instructions
- In a large mixing bowl, combinepeanut butter,powdered sugar,vanilla extract,salt, andcrushed graham crackers. Mix thoroughly until a thick, pliable dough forms. If the mixture feels too sticky, add more crushed graham crackers.
- Using a small scoop or spoon, portion out the dough and roll it into bite-sized balls. Place the balls on a parchment-lined tray to prevent sticking. Once all the dough is shaped, freeze the tray for about 30 minutes. This step ensures the truffles hold their shape during the chocolate dipping process.
- While the truffles are chilling, melt thesemi-sweet chocolate chipswith the optionalcoconut oil. Use a microwave-safe bowl and heat in 15-second intervals, stirring in between, until the chocolate is smooth. Alternatively, melt the chocolate in a double boiler for a gentler process.
- Remove the chilled truffles from the freezer. Using a fork or dipping tool, coat each truffle in the melted chocolate, allowing any excess to drip off. Place the coated truffles back on the parchment-lined tray and sprinkle withcrushed peanutsorcookie crumbsfor added texture and flavor.
- Refrigerate the truffles for at least 1 hour or until the chocolate is fully set. Serve chilled or at room temperature and enjoy the perfect balance of creamy, crunchy, and chocolaty goodness.
Notes
Use high-quality chocolate chips for a smoother coating and richer taste.
For a perfectly round shape, roll the dough balls between your palms after freezing them for a few minutes.
A drizzle of white chocolate can add an elegant touch to the truffles.
If you don’t have a double boiler, place a heatproof bowl over a pot of simmering water to melt the chocolate evenly.
“`