Melt In Your Mouth Chicken Breast Recipe – Easy Dinner
“`html
Table of Contents
Melt In Your Mouth Chicken Breast Recipe – Easy Dinner
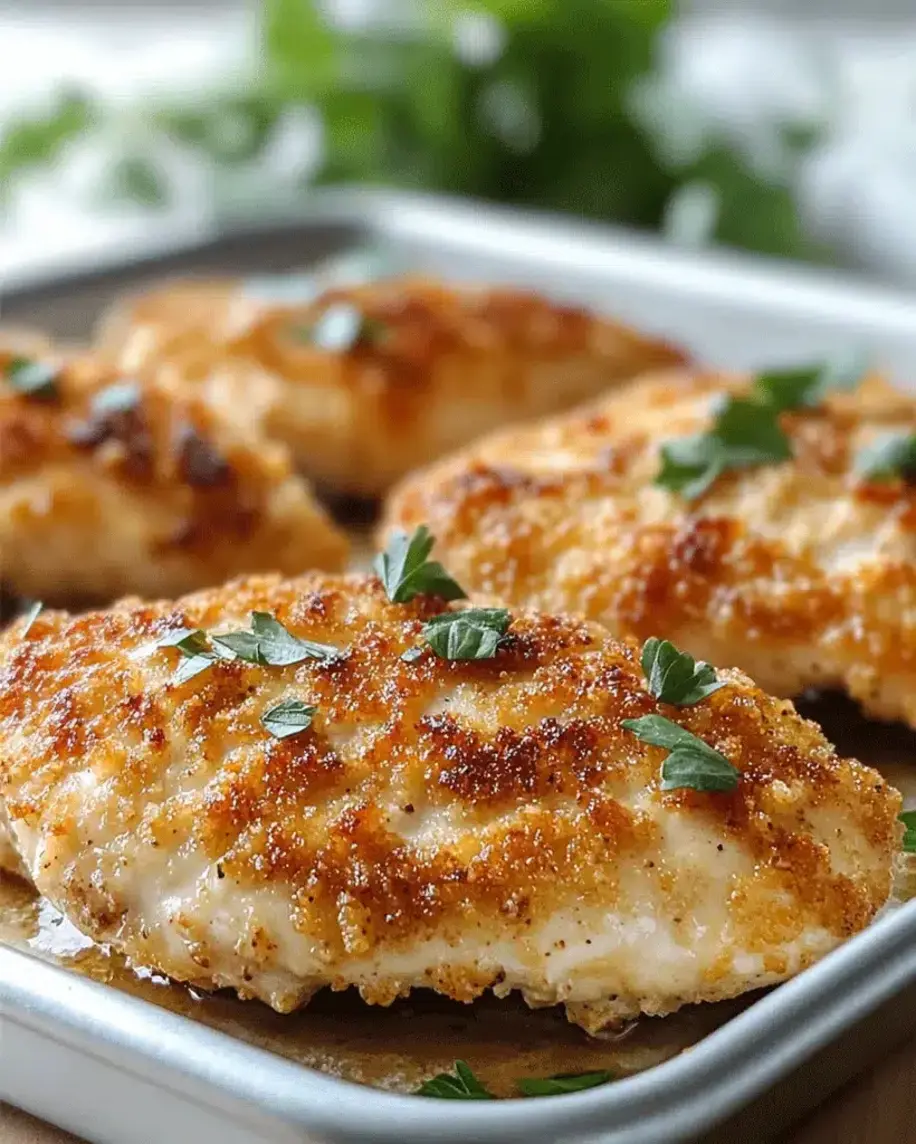
Melt In Your Mouth Chicken Breast Recipe: Your New Go-To Dinner
Are you tired of dry, bland chicken breasts that leave you feeling disappointed? In a world where weeknight dinners need to be both delicious and quick, finding a truly foolproof method for cooking chicken breast can feel like a quest. The good news? Your search ends here! Welcome to this comforting and easy-to-make “Melt In Your Mouth Chicken Breast Recipe”! Whether you’re a beginner in the kitchen or a seasoned chef, this recipe promises to bring juicy, tender chicken with a crispy, golden coating that is sure to become a household favorite. Imagine slicing into perfectly cooked chicken, so moist it practically melts on your tongue. Not only does this chicken recipe shine on its own, but it pairs perfectly with a variety of sides and sauces, making it incredibly versatile. Ready to make a dinner that everyone will love? Let’s get started!
Ingredients for Your Tender Chicken Breast
The magic of this recipe lies in its simplicity and the quality of its components. We’re using common pantry staples along with a few key players to ensure that melt-in-your-mouth texture and delightful flavor. Here’s what you’ll need:
- 4 boneless, skinless chicken breasts (about 6-8 oz each): Look for chicken breasts that are similar in size and thickness for even cooking. Plump, fresh chicken breasts are key to a tender outcome.
- 2 tablespoons olive oil: Provides a rich, fruity base and helps achieve that beautiful golden sear. Substitution: Avocado oil or any neutral cooking oil will work beautifully.
- 1 teaspoon salt: Enhances all the other flavors and is crucial for seasoning. We want that savory depth! Substitution: Kosher salt or sea salt will provide a clean, bright salinity.
- 1/2 teaspoon black pepper: Adds a subtle warmth and bite. Freshly ground pepper offers the best aroma and flavor. Substitution: White pepper can be used for a less visible spice.
- 1 teaspoon garlic powder: Brings an aromatic, savory depth without the burn of raw garlic. Substitution: 2 cloves of minced fresh garlic can be used, but be cautious as it can burn during searing.
- 1/2 teaspoon paprika: Adds a lovely hue and a mild, sweet pepper flavor. Smoked paprika can be used for an extra layer of smoky deliciousness. Substitution: Sweet paprika or smoked paprika.
- 1/4 teaspoon onion powder: Complements the garlic and adds another layer of savory complexity. Substitution: Finely minced onion could be used, but may not dissolve as evenly.
- Optional: 1/4 cup all-purpose flour: For a slightly crispier coating and to help the seasonings adhere. Substitution: Almond flour or a gluten-free all-purpose flour blend can be used if needed.
- Optional: 1 tablespoon unsalted butter: Added during the searing process for extra richness and a more luxurious finish. Substitution: Ghee or a dairy-free butter alternative.
Timing and Preparation
Compared to the average chicken breast recipe, which can often take longer, this method is designed for efficiency without sacrificing flavor or texture. Most other recipes might involve marinating or longer cooking times, but this one gets dinner on the table in under an hour!
Step-by-Step: Crafting Your Melt-In-Your-Mouth Chicken
Step 1: Prep the Chicken
First things first, let’s get your chicken ready. Pat the chicken breasts completely dry with paper towels. This is a crucial step for achieving a beautiful, crispy sear. If your chicken breasts are very thick, you can gently pound them to an even thickness using a meat mallet or the bottom of a heavy pan. Aim for about ¾ inch thickness. This ensures that the chicken cooks evenly without drying out the thinner parts before the thicker parts are done.
Step 2: Season Generously
In a small bowl, whisk together the salt, pepper, garlic powder, paprika, and onion powder. If you’re using flour for a crispier coating, whisk it in with the other seasonings. Sprinkle this mixture evenly over all sides of the dried chicken breasts, patting it gently to help it adhere. Don’t be shy with the seasoning – this is where a lot of the flavor comes from!
Step 3: The Coating Magic (Optional but Recommended)
If you opted for the flour coating, now’s the time to apply it. Place the seasoned chicken breasts on a plate or in a shallow dish and dredge them lightly in the seasoned flour mix, ensuring all sides are lightly coated. Shake off any excess. This light coating creates a wonderful texture and helps the chicken brown beautifully.
Step 4: Sear to Perfection
Heat the olive oil and an optional tablespoon of butter in a large, oven-safe skillet (cast iron works wonderfully here) over medium-high heat. You want the pan to be hot enough that the chicken sizzles immediately upon contact, but not so hot that the oil smokes excessively. Carefully place the seasoned chicken breasts into the hot skillet. Sear them for about 3-4 minutes per side, until they develop a beautiful golden-brown crust. Avoid overcrowding the pan; cook in batches if necessary.
Step 5: Finish in the Oven
Once seared, transfer the skillet to a preheated oven at 400°F (200°C). Let the chicken cook in the oven for 10-15 minutes, or until the internal temperature reaches 165°F (74°C) when measured with a meat thermometer. The exact time will depend on the thickness of your chicken breasts. This gentle oven-cooking ensures the chicken stays incredibly moist and tender.
Step 6: Rest and Serve
Once cooked, remove the chicken from the oven and transfer it to a clean cutting board. Tent it loosely with foil and let it rest for at least 5-10 minutes. This resting period is crucial as it allows the juices to redistribute throughout the meat, ensuring every bite is as succulent as possible. After resting, slice the chicken and serve immediately.
Approximate Nutritional Information
The nutritional values can vary based on the exact size of the chicken breasts and any optional ingredients used (like butter or flour). This is a general guideline per serving (assuming 4 servings):
- Calories: 250-300 kcal
- Protein: 40-50g
- Fat: 8-12g
- Carbohydrates: 2-5g (excluding flour coating)
This data is an estimation and should not be considered a substitute for professional nutritional advice.
Healthier Alternatives for a Lighter Meal
Looking to make this delicious recipe even healthier without sacrificing flavor? Here are a few easy swaps:
- Reduce Oil: Use a non-stick skillet to minimize the amount of oil needed for searing. You can also spray the chicken lightly with cooking spray instead of coating it in oil.
- Skip the Flour Dredge: The chicken will still sear beautifully and be incredibly tender without the flour. This significantly reduces carbohydrates and calories.
- Leaner Cooking Fat: Instead of butter, use a small amount of olive oil or avocado oil for searing.
- Boost Veggies: Serve with a large side of steamed or roasted vegetables. Consider adding some sliced bell peppers and onions to the pan during the last few minutes of oven cooking for extra flavor and nutrients.
Serving Suggestions
This melt-in-your-mouth chicken breast is incredibly versatile. Here are a few ideas to pair it with:
- Classic Comfort: Serve with mashed potatoes and steamed broccoli or green beans.
- Healthy & Light: Pair with a vibrant quinoa salad or a bed of mixed greens drizzled with a light vinaigrette.
- Pasta Night: Slice and serve over your favorite pasta with a marinara or pesto sauce.
- Taco Tuesday: Shred or dice the cooked chicken and use it as a filling for tacos or fajitas.
- Sandwich Delight: Slice thinly and tuck into a crusty roll with your favorite condiments and salad greens for a gourmet sandwich.
Common Mistakes to Avoid
Even with a simple recipe, a few common pitfalls can lead to disappointing chicken. Here’s how to steer clear:
- Overcrowding the Pan: This lowers the pan’s temperature, leading to steamed, pale chicken instead of a beautifully seared crust. Cook in batches if needed.
- Under-seasoning: Chicken breast can be bland; don’t be afraid to season generously.
- Not Patting Dry: Moisture is the enemy of a good sear. Ensure chicken is thoroughly dried.
- Skipping the Rest: Cutting into chicken immediately after cooking will cause all those delicious juices to run out, leaving you with dry meat.
- Overcooking: Chicken breast cooks quickly. Use a meat thermometer to ensure it reaches 165°F (74°C) without going much beyond it.
Storing and Reheating Tips
Leftover melt-in-your-mouth chicken breast is a winner! Here’s how to store and reheat it:
- Storage: Once cooled, store leftover chicken in an airtight container in the refrigerator for up to 3-4 days.
- Reheating: For best results, gently reheat in a skillet over low heat with a splash of broth or water to add moisture. You can also reheat it in the oven at a low temperature (around 300°F or 150°C) until warmed through, or in the microwave, being careful not to overcook it.
The Easiest Path to Delicious Chicken
There you have it – the secret to achieving incredibly tender, juicy, and flavorful chicken breast every single time. This recipe is proof that you don’t need complicated techniques or exotic ingredients to create a dinner that will impress your family and friends. With just a few simple steps and a little bit of care, you can transform a humble chicken breast into a culinary masterpiece. So go ahead, try this melt-in-your-mouth chicken breast recipe tonight and get ready for rave reviews!
Did you try this recipe? We’d love to hear about your experience! Share your thoughts and any variations you tried in the comments below. Your feedback helps us all!
Frequently Asked Questions
***When are chicken breasts fully cooked?***
Chicken breasts are fully cooked when they reach an internal temperature of 165°F (74°C) on an instant-read thermometer. The juices should also run clear, and the meat should be opaque throughout.
***Can I use chicken thighs instead?***
Yes, you absolutely can! Chicken thighs are naturally more forgiving and moister than breasts. You might need to adjust the cooking time slightly; they usually take a little longer to cook through, but the searing process will be similar. They tend to be more “melt-in-your-mouth” by nature.
***Why is my chicken breast tough?***
Tough chicken breast is often a result of overcooking or not resting it properly. Ensure you’re cooking to the correct internal temperature and allowing it to rest for at least 5-10 minutes after cooking.
***Can I make the seasoning mix ahead of time?***
Yes! You can whisk together your dry seasonings (salt, pepper, garlic powder, paprika, onion powder) and store them in an airtight container at room temperature for up to a month. This will save you time during meal prep.
***What if I don’t have an oven-safe skillet?***
No problem! After searing the chicken on the stovetop, transfer it to a baking dish and finish cooking it in the preheated oven.
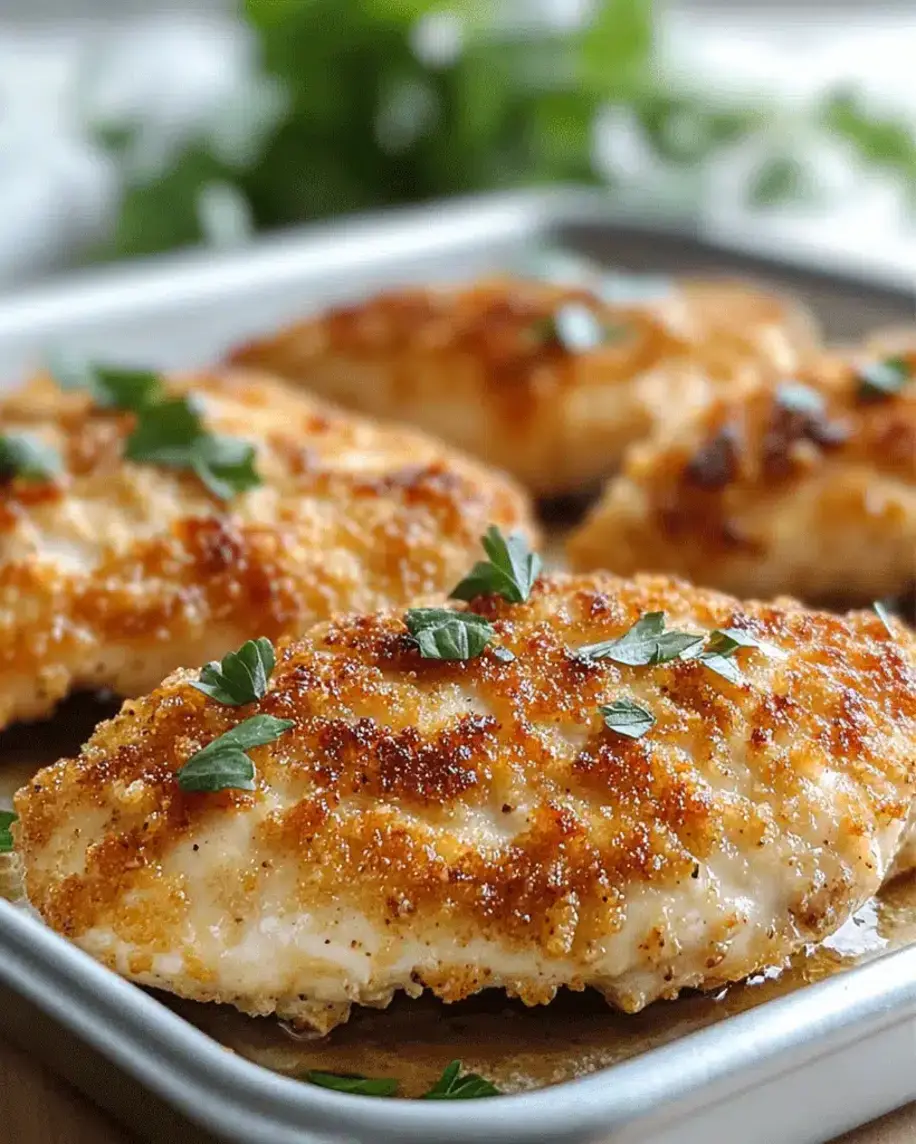
Melt In Your Mouth Chicken Breast Recipe – Easy Dinner

Welcome to this comforting and easy-to-make “Melt In Your Mouth Chicken Breast Recipe”! Whether you’re a beginner in the kitchen or a seasoned chef, this recipe promises to bring juicy, tender chicken with a crispy, golden coating that is sure to become a household favorite. Not only does this chicken recipe shine on its own, but it pairs perfectly with a variety of sides and sauces. Ready to make a dinner that everyone will love? Let’s get started!
Ingredients
- Optional substitutions:
Instructions
- Preheat your oven to 400°F (200°C). Line a baking sheet with parchment paper or a silicone baking mat to ensure easy cleanup after cooking.
- Start by patting the chicken breasts dry with a paper towel. If your chicken breasts are particularly thick, slice them horizontally to ensure they cook evenly. This also helps in making sure the coating sticks better.
- In a shallow bowl, combine the breadcrumbs, Parmesan cheese, garlic powder, onion powder, dried thyme, salt, and pepper. Mix well to ensure an even distribution of the seasonings.
- Brush each chicken breast with olive oil. Then, dip and press the chicken breasts into the breadcrumb mixture, making sure to coat each side thoroughly. The breadcrumbs should stick to the chicken, creating a crispy outer layer once baked.
- Place the coated chicken breasts onto the prepared baking sheet. Bake for 20-25 minutes, or until the chicken reaches an internal temperature of 165°F (74°C). The breadcrumbs should be golden brown and crispy.
- Once the chicken is out of the oven, you can brush it with melted butter for an extra touch of richness. This step is optional but recommended if you want to elevate the flavor.
- Let the chicken rest for a few minutes to retain its juices. Garnish with fresh parsley or herbs of your choice to add a burst of color and freshness.
Notes
Ensure even coating: Press the breadcrumbs gently onto the chicken to ensure a consistent coating. This will help create a golden, crispy texture when baked.
Don’t skip the resting step: Let the chicken rest for a few minutes after baking to keep the juices locked in and prevent it from becoming dry.
“`