No Bake Peanut Butter Pie Recipe
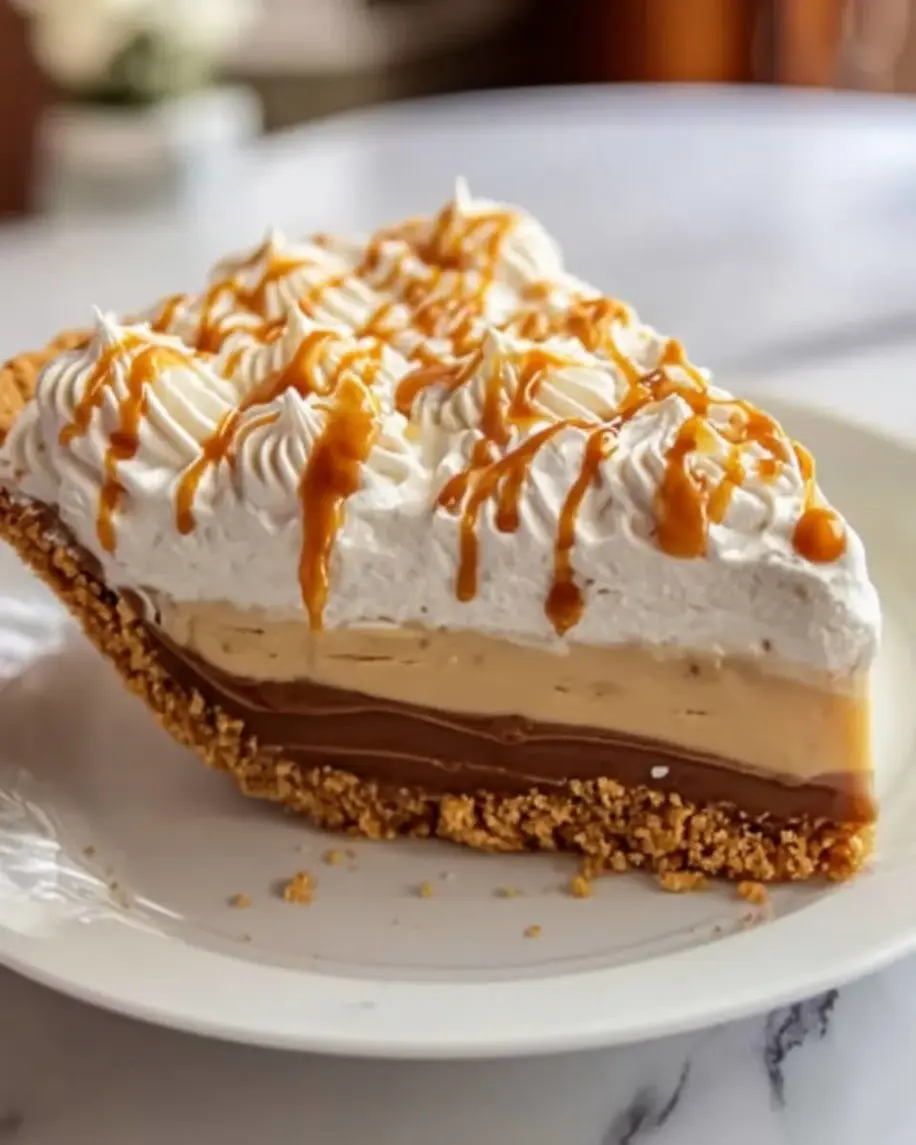
Table of Contents
No Bake Peanut Butter Pie Recipe
Introduction
Did you know that peanut butter is the second most popular sandwich spread in America, with the average American consuming over 3 pounds of it per year? It’s no wonder that a decadent, creamy no-bake peanut butter pie is a dessert that consistently wins hearts and satisfies cravings. This recipe is the ultimate answer for anyone seeking a luscious, indulgent treat that requires absolutely zero oven time. Perfect for hot summer days, last-minute gatherings, or when you simply need a peanut butter fix, this pie combines the nostalgic flavor of creamy peanut butter with the light, airy texture of whipped topping, all nestled in a crisp, buttery graham cracker crust. The best part? It’s incredibly easy to make, and the chilling time does all the hard work, allowing the flavors to meld into a perfectly set, sliceable masterpiece that serves 8 happy people.
Ingredients List
Gathering high-quality ingredients is key to achieving the perfect texture and flavor for your no-bake pie. Here’s what you’ll need, complete with sensory notes and smart substitutions.
- For the Graham Cracker Crust:
- 1 ½ cups graham cracker crumbs (about 10-12 full sheets): These provide a sweet, honey-kissed, and slightly nutty base with a satisfying crunch. Substitution: Use digestive biscuits, vanilla wafers, or even Oreo cookie crumbs (without the filling) for a chocolate twist.
- ⅓ cup granulated sugar: Balances the crumbs and helps the crust caramelize slightly when pressed. Substitution: Brown sugar for a deeper molasses note.
- 6 tablespoons unsalted butter, melted: The binding agent that creates that irresistible, crisp texture. Use salted butter if that’s what you have, but omit any added salt in the filling.
- For the Peanut Butter Filling:
- 8 ounces full-fat cream cheese, softened to room temperature: This is the structural backbone of the filling, providing a tangy richness that cuts through the sweetness. Do not use low-fat, as it can make the filling runny.
- 1 cup creamy peanut butter: The star of the show! Use a standard, shelf-stable creamy peanut butter (like Jif or Skippy) for the best consistency and sweet-salty flavor. Natural peanut butter (oil-separated) can make the filling greasy and less stable.
- 1 cup powdered sugar: Dissolves seamlessly into the filling, adding sweetness without graininess and helping to thicken it.
- 1 teaspoon pure vanilla extract: A flavor enhancer that adds warm, aromatic depth.
- 1 ½ cups (8 ounces) frozen whipped topping (like Cool Whip), thawed: This lightens the dense peanut butter and cream cheese mixture, creating that signature fluffy, cloud-like texture. Substitution: For a from-scratch version, whip 1 cup of heavy cream with 2 tablespoons of powdered sugar until stiff peaks form.
- For Garnish (Optional but Recommended):
- Additional whipped topping or freshly whipped cream
- Chopped salted peanuts for crunch
- A drizzle of chocolate sauce or melted peanut butter chips
- Chocolate shavings or mini chocolate chips
Timing
15 minutes
4 hours (minimum)
4 hours 15 minutes
One of the greatest advantages of this no-bake peanut butter pie is its efficient timeline. With just 15 minutes of hands-on prep, it’s significantly faster than most baked pies, which can require 30-45 minutes of active kitchen time plus baking and cooling. The “cook” time is replaced by chilling, which requires no effort from you. The 4-hour chill is non-negotiable for a clean slice, but for the best texture and flavor integration, I highly recommend letting it set overnight. This hands-off approach makes it an ideal make-ahead dessert for stress-free entertaining.
Creamy, dreamy, and utterly indulgent—this no-bake peanut butter pie is a showstopper that requires no oven.
Step-by-Step Instructions
Step 1: Prepare the Crust
Begin by making your crust. If you’re starting with whole graham crackers, pulse them in a food processor until you have fine, even crumbs. In a medium bowl, combine the graham cracker crumbs and granulated sugar. Pour the melted butter over the mixture and stir with a fork until every crumb is evenly moistened and the mixture resembles wet sand. Transfer this mixture to a standard 9-inch pie plate. Using the bottom of a measuring cup or a glass, firmly press the crumbs into the bottom and up the sides of the plate to form an even, compact layer. This firm pressure is crucial—it prevents the crust from crumbling when you slice the pie. Once pressed, place the crust in the refrigerator to chill and set while you make the filling. This 10-minute chill helps the butter solidify, giving you a sturdier base.
Step 2: Make the Filling
In a large mixing bowl, beat the softened cream cheese with an electric mixer on medium speed for about 1-2 minutes until it’s completely smooth and lump-free. Scrape down the sides of the bowl. Add the creamy peanut butter and beat again until the two are fully incorporated and the mixture is uniform. Now, add the powdered sugar and vanilla extract. Start mixing on low speed to avoid a powdered sugar cloud, then increase to medium until everything is combined. The mixture will be very thick and dense at this point—that’s perfect.
Step 3: Combine and Chill
Here’s the step that creates the magic, fluffy texture. Add about one-third of the thawed whipped topping to the peanut butter mixture. Use a spatula to gently fold it in. This lightens the dense base. Once incorporated, add the remaining whipped topping and continue to fold gently until no white streaks remain. Be patient and use a gentle hand—overmixing can deflate the whipped topping and result in a denser pie. Now, retrieve your chilled crust. Spoon the fluffy filling into the crust, spreading it evenly with your spatula and creating decorative swirls on top. Cover the pie plate tightly with plastic wrap and refrigerate for at least 4 hours, or ideally overnight. This chilling time is essential for the pie to set firmly so you can get beautiful, clean slices.
Step 4: Add Toppings and Serve
Just before serving, add your chosen garnishes. A final dollop of whipped topping, a sprinkle of chopped salted peanuts for a salty crunch, and a generous drizzle of chocolate sauce not only make the pie visually stunning but also add wonderful layers of texture and flavor. Use a sharp knife dipped in hot water and wiped dry to slice the pie cleanly. Serve immediately and watch it disappear!
Nutritional Information
The following nutritional estimate is for one slice (1/8th of the pie) without optional garnishes. Remember, this is an indulgent dessert meant to be enjoyed in moderation.
- Calories: Approximately 520 kcal
- Total Fat: 36g
- Saturated Fat: 15g
- Cholesterol: 45mg
- Sodium: 280mg
- Total Carbohydrates: 42g
- Dietary Fiber: 2g
- Sugars: 32g
- Protein: 10g
Healthier Alternatives
You can easily adapt this recipe for dietary preferences without sacrificing the creamy, peanut buttery experience.
- Lower-Sugar Crust: Omit the granulated sugar from the crust entirely. The graham crackers provide enough sweetness for many palates.
- Filling Sweetener: Replace the powdered sugar with a powdered zero-calorie sweetener like erythritol or monk fruit blend that measures 1:1 like sugar.
- Lighter Dairy: Use Neufchâtel cheese (⅓ less fat cream cheese) and a light or fat-free whipped topping. The texture will be slightly less rich but still delicious.
- Nut Butter Swap: For a different nutrient profile, try almond butter or sunflower seed butter. Be sure they are the creamy, no-stir variety for best results.
- Crust Base: For a gluten-free option, use certified gluten-free graham crackers or crushed gluten-free cookies.
Serving Suggestions
This pie is a star on its own, but pairing it thoughtfully can elevate your dessert spread.
- Beverage Pairings: Serve with a glass of cold whole milk, a rich cold brew coffee, or a glass of dessert wine like a Tawny Port.
- Complementary Desserts: For a dessert buffet, pair it with a light, fruity option like a berry salad or lemon sorbet to balance the richness.
- Presentation: For individual servings, scoop the filling into small dessert cups or mini graham cracker tart shells for a no-slice, portion-controlled option.
- Seasonal Twist: In the fall, sprinkle a pinch of cinnamon into the crust or garnish with caramel sauce instead of chocolate.
Common Mistakes
Avoid these pitfalls to ensure your pie is perfect every time.
- Using Natural Peanut Butter: The oil separation in natural peanut butter can lead to a greasy, unstable filling that may not set properly. Stick with conventional creamy peanut butter.
- Cold Cream Cheese: If your cream cheese is not fully softened, you’ll end up with lumps in your filling that no amount of mixing can fully eliminate. Plan ahead to let it sit on the counter for 1-2 hours.
- Overmixing the Filling: Once the whipped topping is added, switch from beating to folding. Aggressive mixing deflates the air, resulting in a dense, heavy pie instead of a light and fluffy one.
- Skimping on Chill Time: Pulling the pie out of the fridge too early is the #1 reason for a soupy, messy slice. The 4-hour minimum is critical for structure.
- A Loose Crust: Not pressing the crumb mixture firmly enough into the pie plate will cause the crust to fall apart. Press hard and evenly.
Storing Tips
Proper storage keeps