Table of Contents
Introduction
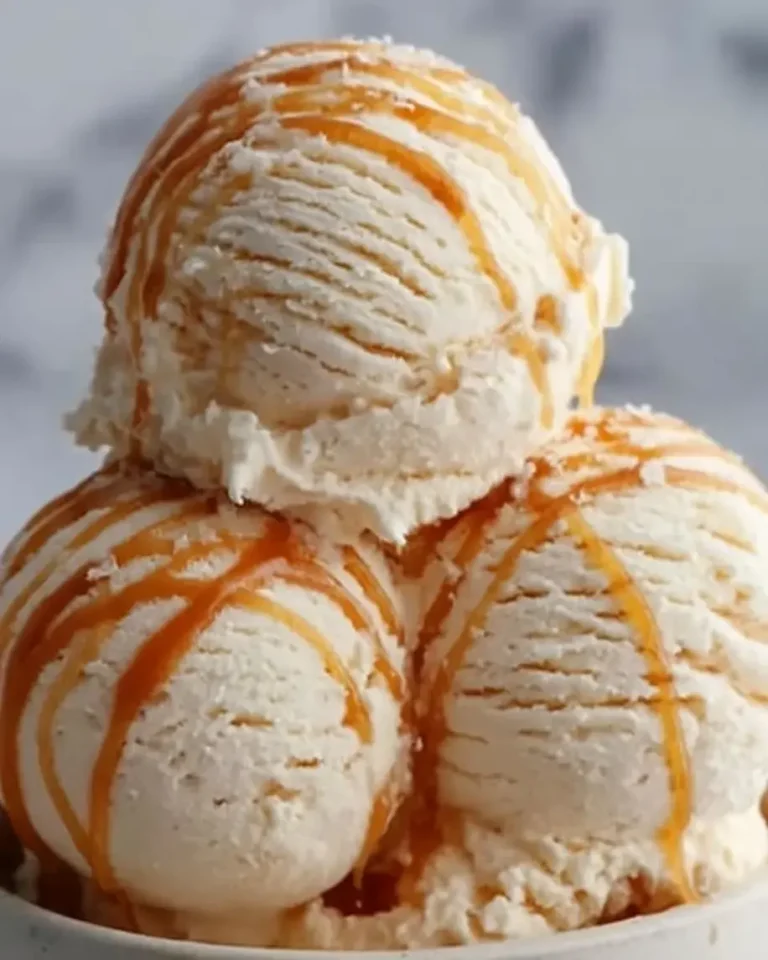
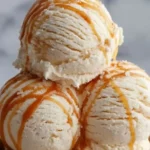
Did you know that a whopping 93% of American households indulge in ice cream, with vanilla being the most popular flavor? But why settle for plain when you can create a culinary masterpiece in your own kitchen? This Homemade Salted Caramel Ice Cream Recipe is the answer to your dessert dreams, combining a luxuriously creamy base with the rich, buttery depth of homemade caramel and a final flourish of sea salt that dances on your tongue. It is a dessert that transcends the ordinary, offering a sophisticated balance of sweet and savory that will have everyone asking for seconds. Forget the store-bought tubs; making your own ice cream is surprisingly simple and incredibly rewarding, and this salted caramel version is the perfect place to start your homemade ice cream journey.
Ingredients List
The magic of this recipe lies in its simplicity. Each ingredient plays a crucial role in creating that perfect, decadent texture and flavor. Here is what you need, with some smart substitutions to suit your pantry.
- 2 cups (480ml) Heavy Cream — The foundation of richness. Look for a deep golden tint; that signals higher butterfat and a creamier result. Substitution: For a lighter version, use 1 cup heavy cream and 1 cup whole milk.
- 1 cup (240ml) Whole Milk — Provides the right balance of fat and water for a scoopable texture. Substitution: 2% milk will work but result in a slightly less creamy ice cream.
- 3/4 cup (150g) Granulated Sugar — Divided. Some for the base, some for the caramel. The fine crystals dissolve quickly and evenly.
- 1/4 cup (60ml) Water — For making the caramel. Use filtered water for the purest flavor.
- 4 Large Egg Yolks — The key to a custard-style, ultra-creamy ice cream. Their lecithin emulsifies the fats and water, creating a silky smooth mouthfeel. The yolks should be a bright, deep orange for best flavor.
- 1 teaspoon Vanilla Extract — Enhances the caramel notes. A high-quality, pure vanilla extract makes a noticeable difference.
- 1 teaspoon Flaky Sea Salt (like Maldon) + 1/4 teaspoon fine salt — The flaky salt is for finishing; the fine salt is for the caramel. This is where the magic of saltiness meets sweetness.
- 2 tablespoons Unsalted Butter — Cut into small pieces, it enriches the caramel and gives it a beautiful shine.
Timing
Patience is a virtue when making homemade ice cream, but the results are well worth the wait. Here is the breakdown of your time investment, which is surprisingly efficient compared to many scratch-made desserts.
Most homemade ice cream recipes hover around a 20-30 minute active prep time, which is exactly where we land. The extended time comes from the essential chilling and churning phases. While it takes a bit longer than a no-churn option, the custard-based method delivers a superior, creamier texture that store-bought simply cannot match.

Step-by-Step Instructions
Follow these steps carefully, and you will be rewarded with the most incredible homemade ice cream. I have done this countless times, so trust the process!
Step 1: Prepare the Ice Cream Base
In a medium, heavy-bottomed saucepan, combine 1 cup of the heavy cream, the whole milk, and 1/2 cup of the granulated sugar. Warm the mixture over medium heat, stirring occasionally, until it is hot but not boiling — you should see steam rising and small bubbles around the edges. This takes about 5 minutes. Meanwhile, in a separate bowl, whisk the egg yolks with a pinch of fine sea salt until they are pale and slightly thickened, about 2 minutes.
Step 2: Make the Salted Caramel
This is where the magic happens. In a clean, heavy-bottomed saucepan, combine the remaining 1/4 cup of sugar with the water. Do not stir. Swirl the pan gently over medium-high heat until the sugar dissolves and turns a deep amber color — like the color of a copper penny. This takes 6 to 8 minutes. Watch it carefully as it can burn quickly. Once it reaches that beautiful amber hue, immediately remove it from the heat and carefully whisk in the butter and the 1/4 teaspoon of fine sea salt. It will bubble vigorously, so be careful. Then, slowly pour in the remaining 1 cup of heavy cream, whisking constantly until you have a smooth, glossy caramel sauce. Set it aside to cool slightly.
Step 3: Combine and Chill
Now, temper the egg yolks. While whisking the yolks constantly, slowly pour about 1 cup of the hot milk mixture into the yolks. This prevents them from scrambling. Then, pour the tempered yolk mixture back into the saucepan with the remaining hot milk. Cook over low heat, stirring constantly with a wooden spoon, until the mixture thickens enough to coat the back of the spoon (about 170°F on a thermometer). Do not let it boil. Remove from heat and stir in the vanilla extract. Strain the custard through a fine-mesh sieve into a clean bowl to ensure a silky texture. Whisk in 3/4 cup of your prepared salted caramel sauce. Cover and refrigerate for at least 4 hours, or overnight for best results.
Step 4: Churn the Ice Cream
Once the base is thoroughly chilled, pour it into your ice cream maker and churn according to the manufacturers instructions. This usually takes 20 to 25 minutes. The mixture will look like soft serve and will have doubled in volume. It should hold its shape when you lift the paddle.
Step 5: Fold and Freeze
Transfer the churned ice cream to a freezer-safe container. Drizzle the remaining salted caramel sauce over the top. Using a butter knife or skewer, gently swirl the caramel into the ice cream but do not overmix — you want distinct ribbons of gooey caramel. Sprinkle with the flaky sea salt. Press a piece of parchment paper directly onto the surface of the ice cream to prevent ice crystals from forming, seal with a lid, and freeze for at least 4 hours or until firm.
Nutritional Information
For those who like to keep track, here is the approximate nutritional breakdown per half-cup serving. Keep in mind these values are estimates and can vary based on the specific ingredients used.
- Calories: 380
- Total Fat: 28g
- Saturated Fat: 17g
- Cholesterol: 165mg
- Sodium: 260mg
- Total Carbohydrates: 30g
- Sugars: 27g
- Protein: 4g
Healthier Alternatives
You can absolutely enjoy this deliciousness with a lighter touch. Here are some swaps that maintain the flavor while being a bit kinder to your waistline.
- Use a sugar substitute: Replace the granulated sugar with a 1:1 baking blend (like Swerve or Lakanto) for the ice cream base. For the caramel, use allulose, which caramelizes beautifully without the bitter aftertaste of other substitutes.
- Reduce the fat: Swap 1 cup of heavy cream for 1 cup of full-fat coconut milk or half-and-half. This cuts down on saturated fat while still providing a creamy texture.
- Cut the sugar: Reduce the sugar in the ice cream base from 1/2 cup to 1/3 cup. You can also use less caramel sauce in the swirl, relying on a good quality vanilla extract and the salt to enhance the perception of sweetness.
- Skip the egg yolks: Use a cornstarch-thickened or Philadelphia-style base (no eggs) to cut cholesterol and fat. The texture will be slightly less rich but still creamy.
Serving Suggestions
This salted caramel ice cream is a star on its own, but it truly shines when paired with other treats. Here are some of my favorite ways to serve it.
- Classic Affogato: Scoop a generous ball into a glass and pour a hot shot of espresso over the top. The contrast of hot and cold, bitter and sweet is incredible.
- Warm Brownie Sundae: Place a brownie on a plate, top with a scoop of ice cream, drizzle with extra salted caramel, and add a dollop of whipped cream.
- Apple Pie A La Mode: Serve a scoop alongside a warm slice of apple pie. The saltiness cuts through the sweetness of the pie perfectly.
- Simply In A Cone: Sometimes, the best way is the simplest. A waffle cone with a perfectly round scoop is a thing of beauty.
Common Mistakes
Even experienced home cooks can stumble. Here are the most common pitfalls and how to avoid them to guarantee your success.
- Ice Crystals in the Ice Cream: This is the number one complaint. It happens when the ice cream is not frozen fast enough or is exposed to air. Always press plastic wrap or parchment directly onto the surface before sealing. Also, ensure your base is very cold before churning.
- Burnt Caramel: Caramel goes from perfect to burnt in seconds. Once it reaches a deep amber color, take it off the heat immediately. If you see wisps of smoke, you have gone too far.
- Scrambled Egg Yolks: This happens if you add the hot milk too quickly to the yolks. The key is tempering — adding the hot liquid in a slow, steady stream while whisking constantly. Low and slow is the mantra.
- Hard as a Rock Ice Cream: This is a sign of too little fat or sugar. Both act as antifreeze. If you are using a healthier substitute, expect a firmer texture. Let it sit at room temperature for 5-10 minutes before scooping.
Storing Tips
Proper storage is essential to keep your homemade creation tasting fresh and scoopable for as long as possible.
- Use an airtight container: A standard loaf pan or a dedicated ice cream tub with a tight-fitting lid works best. The less air exposure, the better.
- Press plastic wrap on the surface: Before placing the lid on, press a piece of plastic wrap or parchment paper directly against the surface of the ice cream. This prevents freezer burn and ice crystals from forming on top.
- Store in the back of the freezer: Avoid storing it in the freezer door, where temperatures fluctuate. The back of the freezer maintains a more consistent temperature.
- How long does it last? Homemade ice cream is best eaten within 2 weeks. Its flavor and texture will be at their peak in the first week. After that, it may begin to develop ice crystals and lose its creamy texture.
Conclusion
This Homemade Salted Caramel Ice Cream Recipe is a testament to the fact that the best things in life are made from scratch. The process, from the bubbling caramel to the gentle churning, is a rewarding journey that culminates in a dessert that is truly exceptional. I cannot wait for you to taste the difference a little patience and a lot of love can make. Your reward is a velvety, sweet-and-salty indulgence that will redefine your standard for ice cream.
I would love to see your creations! Share your photos on Instagram and tag me @exorecipes. Do you have a question or a twist on this recipe? Drop a comment below — I read every single one!
FAQs
How long does this last?
When stored properly in an airtight container with plastic wrap pressed onto the surface, your homemade ice cream will stay fresh for up to 2 weeks. The texture is best within the first week.
Can I make this without an ice cream maker?
Yes, but the texture will be different. You can make a no-churn version by whipping 2 cups of cold heavy cream to stiff peaks, folding in a can of sweetened condensed milk and your salted caramel, then freezing. It will be very rich and creamy, but not as smooth as a churned custard.
How do I keep my caramel from crystallizing?
The secret is to not stir the sugar and water once it starts boiling. Swirl the pan gently instead. You can also add a teaspoon of corn syrup or a squeeze of lemon juice, which helps prevent crystals from forming.
My ice cream base is not thickening. What did I do wrong?
You may not have cooked it long enough. The custard needs to reach about 170°F (77°C) to thicken. If it still looks thin after cooking, return it to low heat and stir constantly until it coats the back of a spoon. Do not rush this step, as over-high heat can scramble the eggs.
Can I use store-bought caramel sauce instead?
You can, but I strongly recommend making it from scratch. Homemade caramel tastes brighter, richer, and allows you to control the saltiness. Store-bought sauces often contain stabilizers and preservatives that can affect the texture of your ice cream.
Homemade Salted Caramel Ice Cream Recipe
This Homemade Salted Caramel Ice Cream recipe combines rich, buttery caramel with a creamy ice cream base for a deliciously indulgent treat. The perfect balance of sweet and salty, this dessert is made from scratch using simple ingredients and churned to creamy perfection.
Ingredients
- 1 cup brown sugar, packed
- 6 tablespoons unsalted butter
- 1/2 cup heavy cream
- 1 teaspoon sea salt
- 2 cups heavy cream
- 1 cup whole milk
- 3/4 cup granulated sugar
- 1 tablespoon vanilla extract
- 4 large egg yolks
Instructions
- Make the Caramel Sauce: In a medium saucepan, melt the brown sugar and butter over medium heat, stirring occasionally. Once the butter is melted and the sugar is dissolved, bring it to a gentle simmer. Continue simmering for 2-3 minutes, allowing the caramel to thicken slightly.
- Add Heavy Cream and Salt: Slowly add the heavy cream to the saucepan (it may bubble up) and stir until the mixture is smooth. Remove from heat and stir in the sea salt. Set aside to cool to room temperature.
- Prepare the Ice Cream Base: In a separate saucepan, combine the heavy cream, whole milk, and granulated sugar. Heat over medium heat, stirring occasionally, until the sugar dissolves and the mixture is warmed but not boiling.
- Temper the Egg Yolks: In a bowl, whisk the egg yolks until smooth. Gradually add a small amount of the warm cream mixture to the yolks to temper them. Slowly whisk the tempered egg yolks back into the saucepan with the rest of the warm cream mixture.
- Cook the Custard: Cook the mixture over medium heat, stirring constantly, until it slightly thickens and coats the back of a spoon (about 5-7 minutes). Avoid boiling to prevent curdling.
- Combine and Cool: Remove the custard from heat and strain it through a fine-mesh sieve to remove any cooked egg bits. Let it cool for a few minutes.
- Mix Caramel and Base: Stir the cooled caramel sauce and vanilla extract into the ice cream base until fully combined.
- Chill the Mixture: Allow the mixture to cool completely at room temperature. Then cover and refrigerate for at least 4 hours or overnight until very cold.
- Churn the Ice Cream: Pour the chilled mixture into an ice cream maker and churn according to the manufacturer’s instructions, about 20-25 minutes, until it reaches a soft-serve consistency.
- Freeze: Transfer the churned ice cream to a container, smooth the top, cover, and freeze for at least 4 hours or until firm.
- Serve: Scoop the homemade salted caramel ice cream into bowls or cones and enjoy the creamy, salted caramel goodness!
Notes
Be sure to slowly temper the egg yolks to avoid curdling.
Make sure the caramel sauce has cooled before mixing with the ice cream base to prevent melting.
Use high-quality vanilla extract for the best flavor.
If you don’t have an ice cream maker, you can freeze the mixture and stir every 30 minutes for 2-3 hours to mimic churning.
The salted caramel can be adjusted by adding more or less sea salt to taste.